Overview of Field Definitions
Field definitions in ASI involve configuring and managing custom alert fields to enhance data organization and integration. This process allows you to define new user fields and map them to corresponding BES alert fields. Field definitions are critical for ensuring seamless interaction between ASI and BES, supporting custom data handling, and enabling tailored alert management.
View Existing User Fields
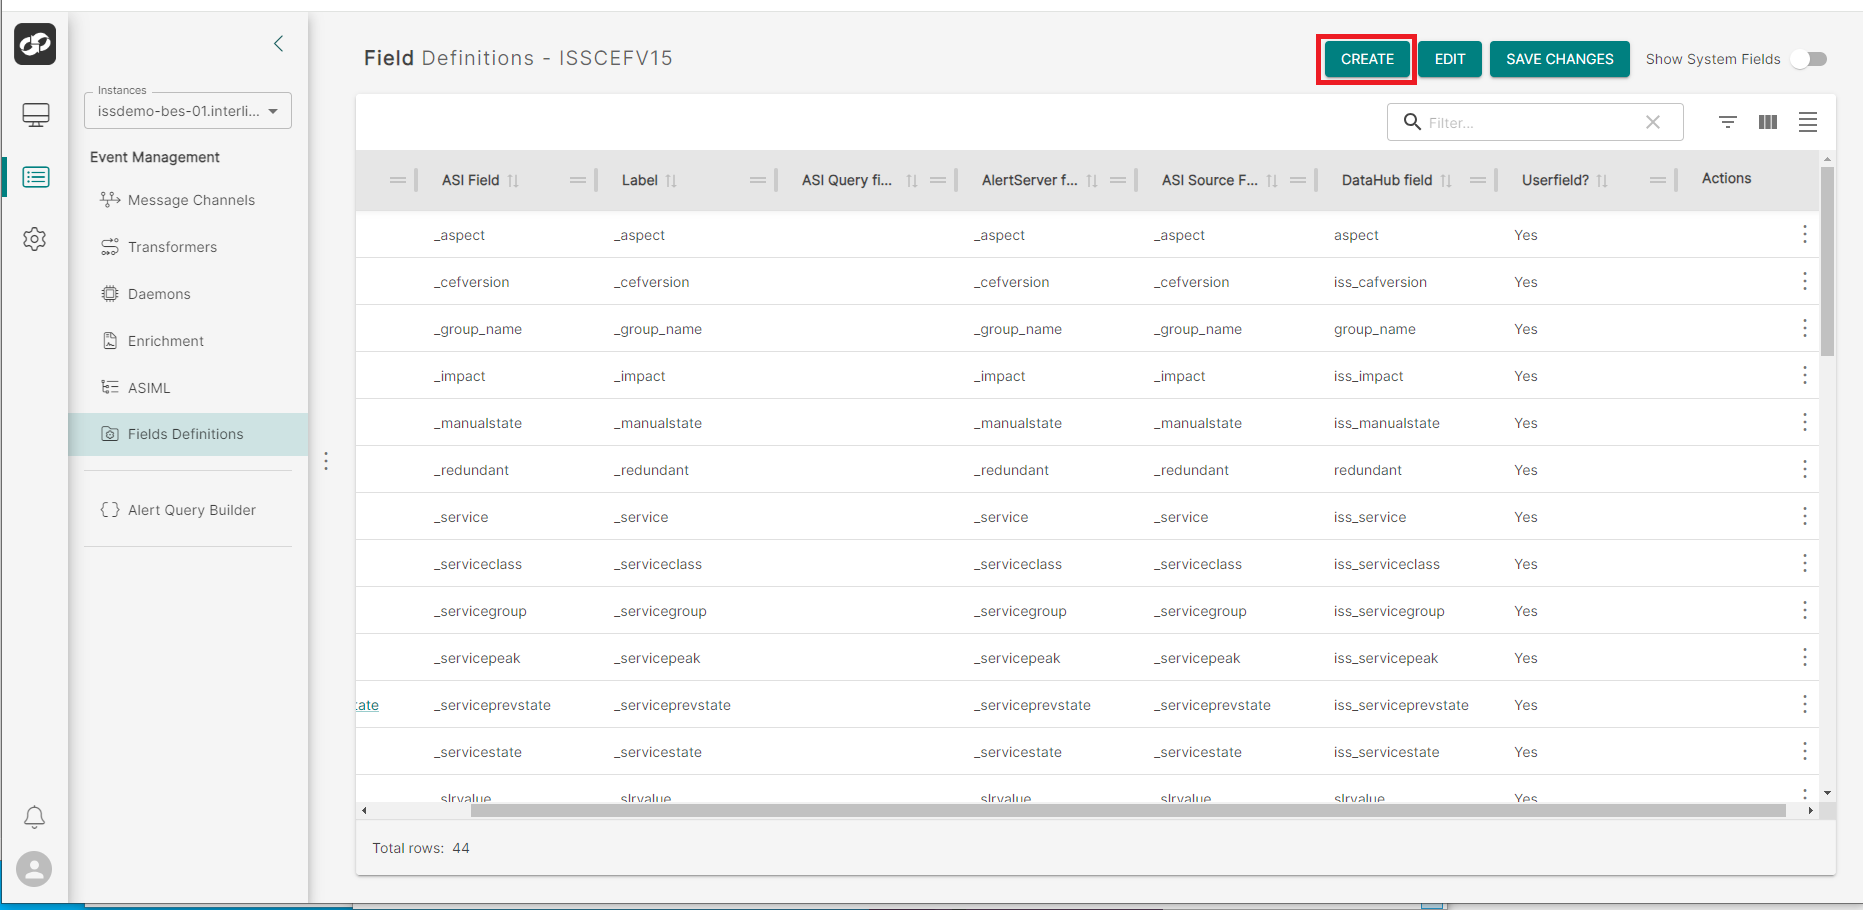
To view a table of all defined user fields and their mapping in ASI:
Navigate to the Event Management then from the index on the left, select Field Definitions

If you would like to see System Fields, switch on the Show System Fields toggle

Creating New User Fields
Navigate to the Event Management then from the index on the left, select Field Definitions
Click the Create button, displayed at the top of the page
The Field Definitions - Create Field page displays, which will allow the user to input a new custom alert field.
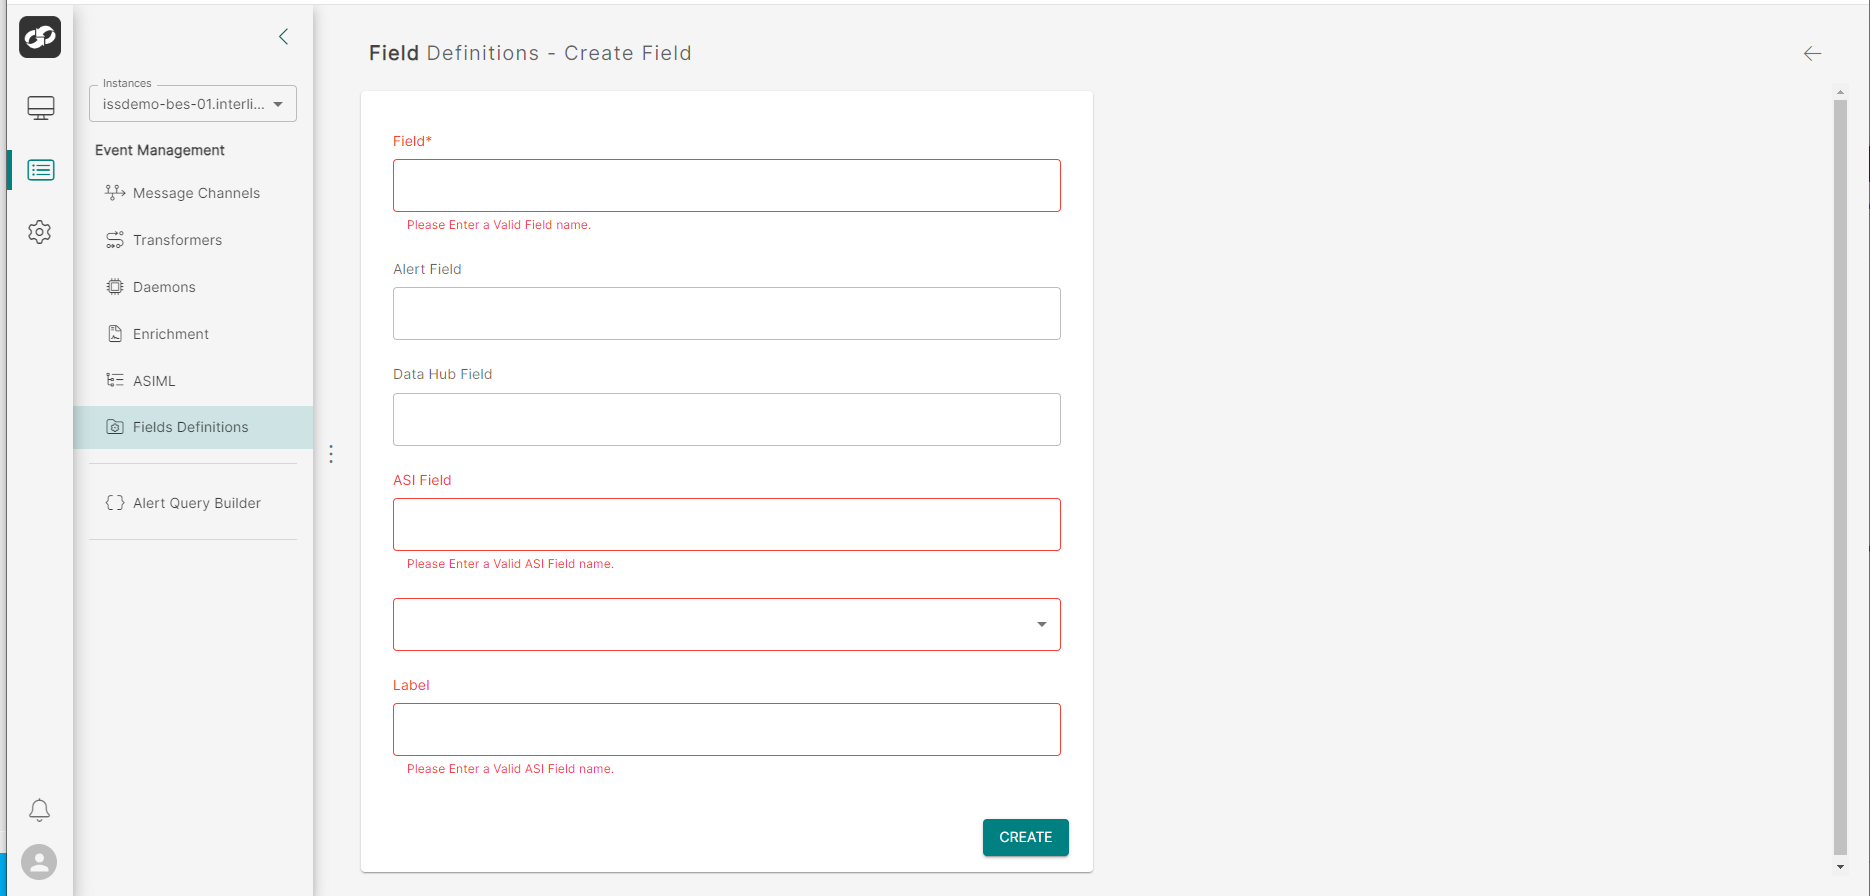
The following fields are required:
- Field: Name of the User Field
- ASI Field: Name of the User Field in ASI
- Label: Label for the field
Do not use the reserved word entity as the name of any new field. This will cause issues in the AID
- Type: Select the relevant Data Type of the field from the dropdown

Once the new field has been defined, click Create at the bottom of the page.
Editing User Fields
Navigate to the Event Management then from the index on the left, select Field Definitions
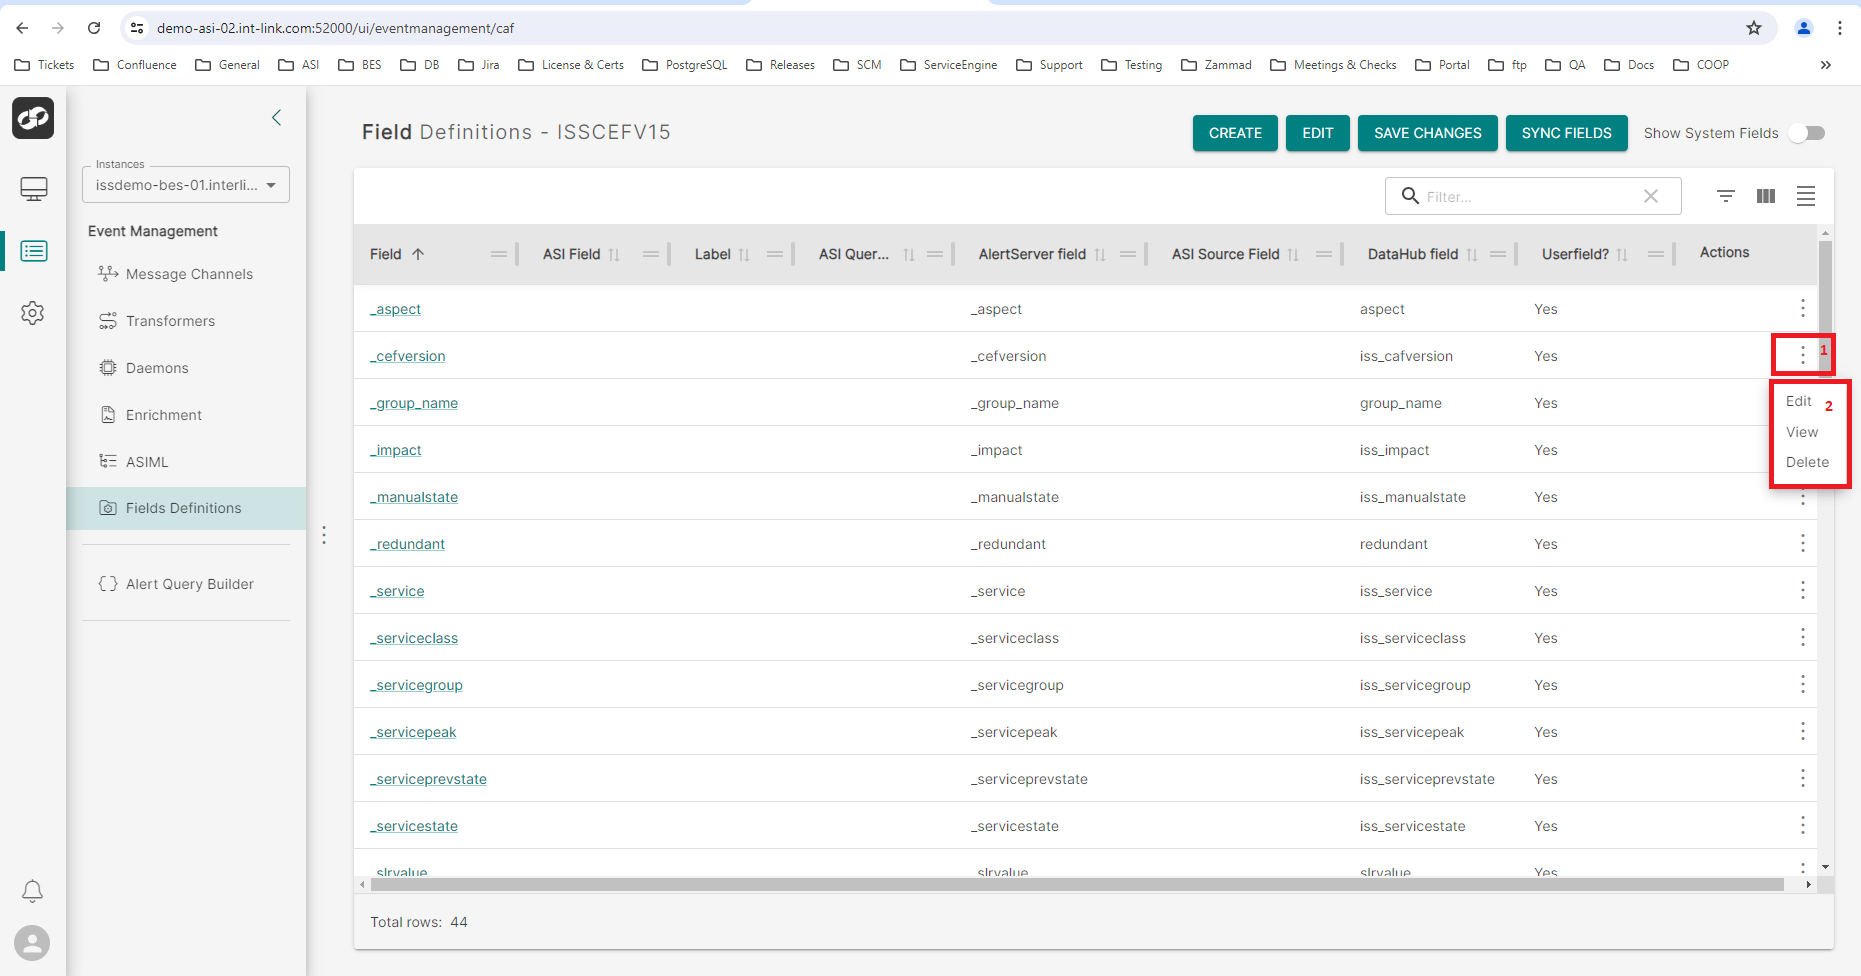
For the relevant field that requires editing, click the three vertical dots on the right (box 1) Then select Edit from the option list.
You will then be presented with the Field Definitions - Edit Field page

Modify the field and then click Save.
Delete User Fields
Navigate to the Event Management then from the index on the left, select Fields Definitions
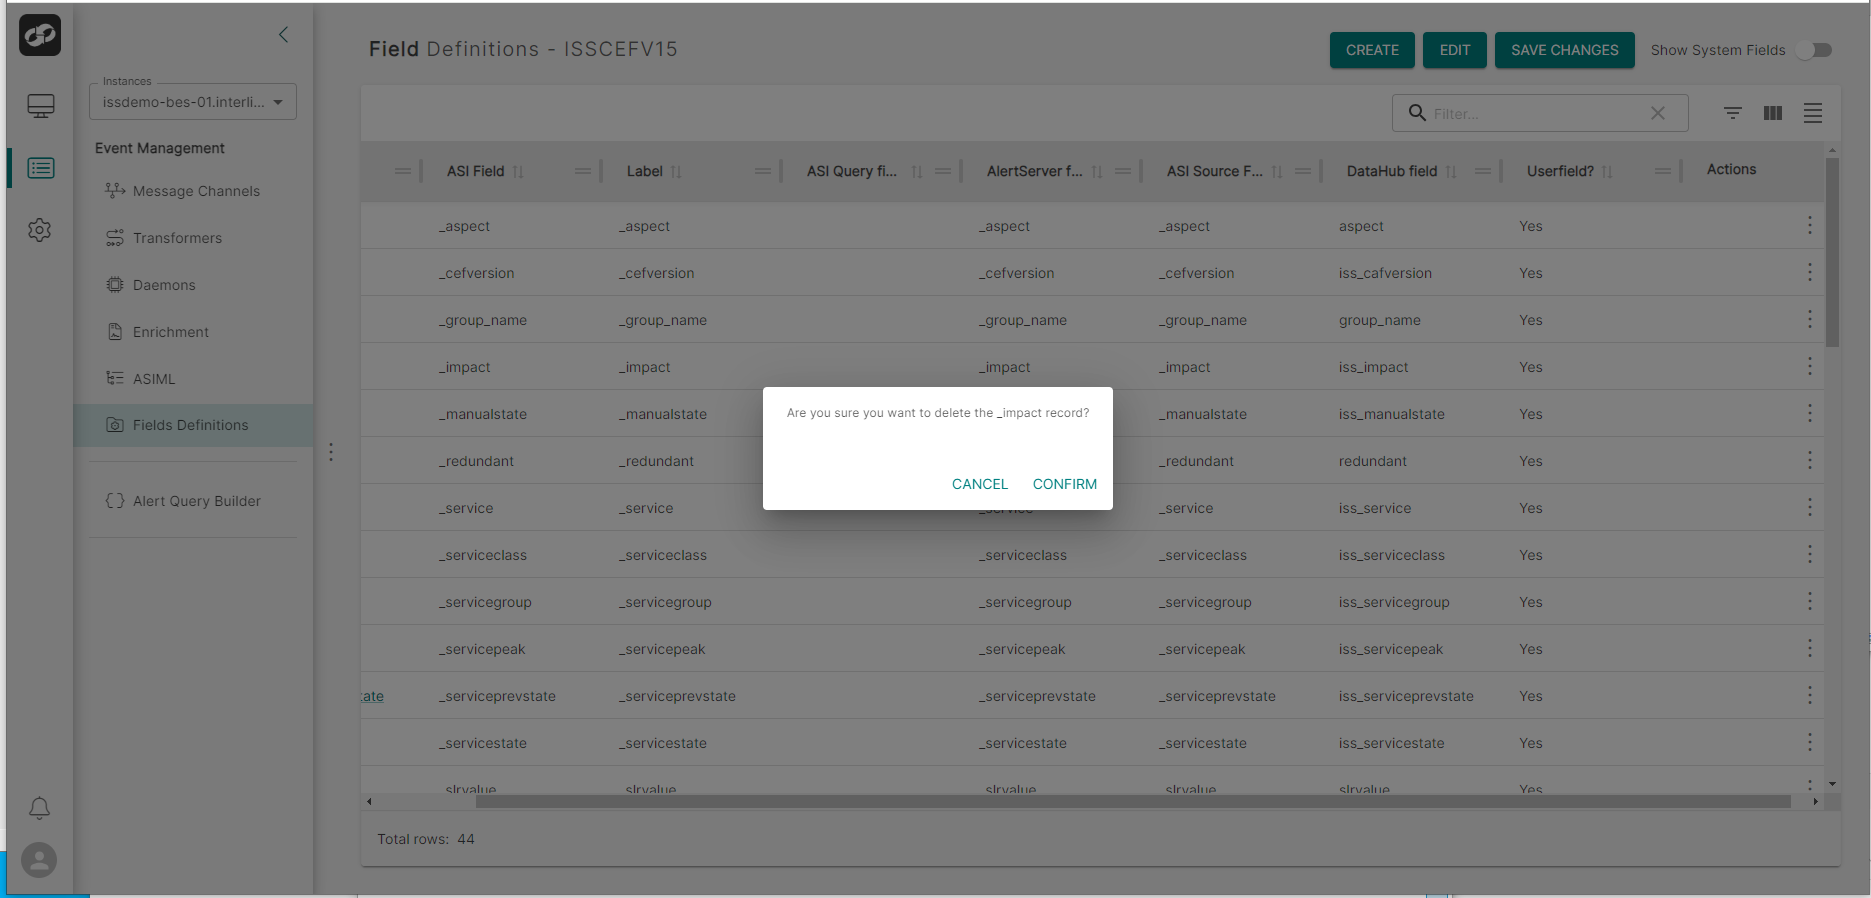
For the field that you wish to delete, click the three vertical dots on the right (box 1) Then select Delete from the option list.
You will then be presented with a delete confirmation window. If you would like to go ahead with the deletion, click Confirm
Default Close Relationships
To display and amend alert fields that are automatically assigned in a close alerts statement, perform the following:
Navigate to the Event Management then from the index on the left, select Field Definitions

Click Edit at the top of the page (box 1) then select Default Relationships from the options list.
You will then be presented with the Default Close Relationships page

You will see a list of available Fields on the left and the defined Default Close Relationships fields on the right.
To add a new field to the list:
- Click the checkbox for the relevant field
- Click the
>button between the two lists
To remove a new field from the list:
- Click the checkbox for the relevant field
- Click the
<button between the two lists
Ignore Fields for Recurring Alerts
To display and amend alert fields that are ignored in recurring alerts, perform the following:
Navigate to the Event Management then from the index on the left, select Field Definitions
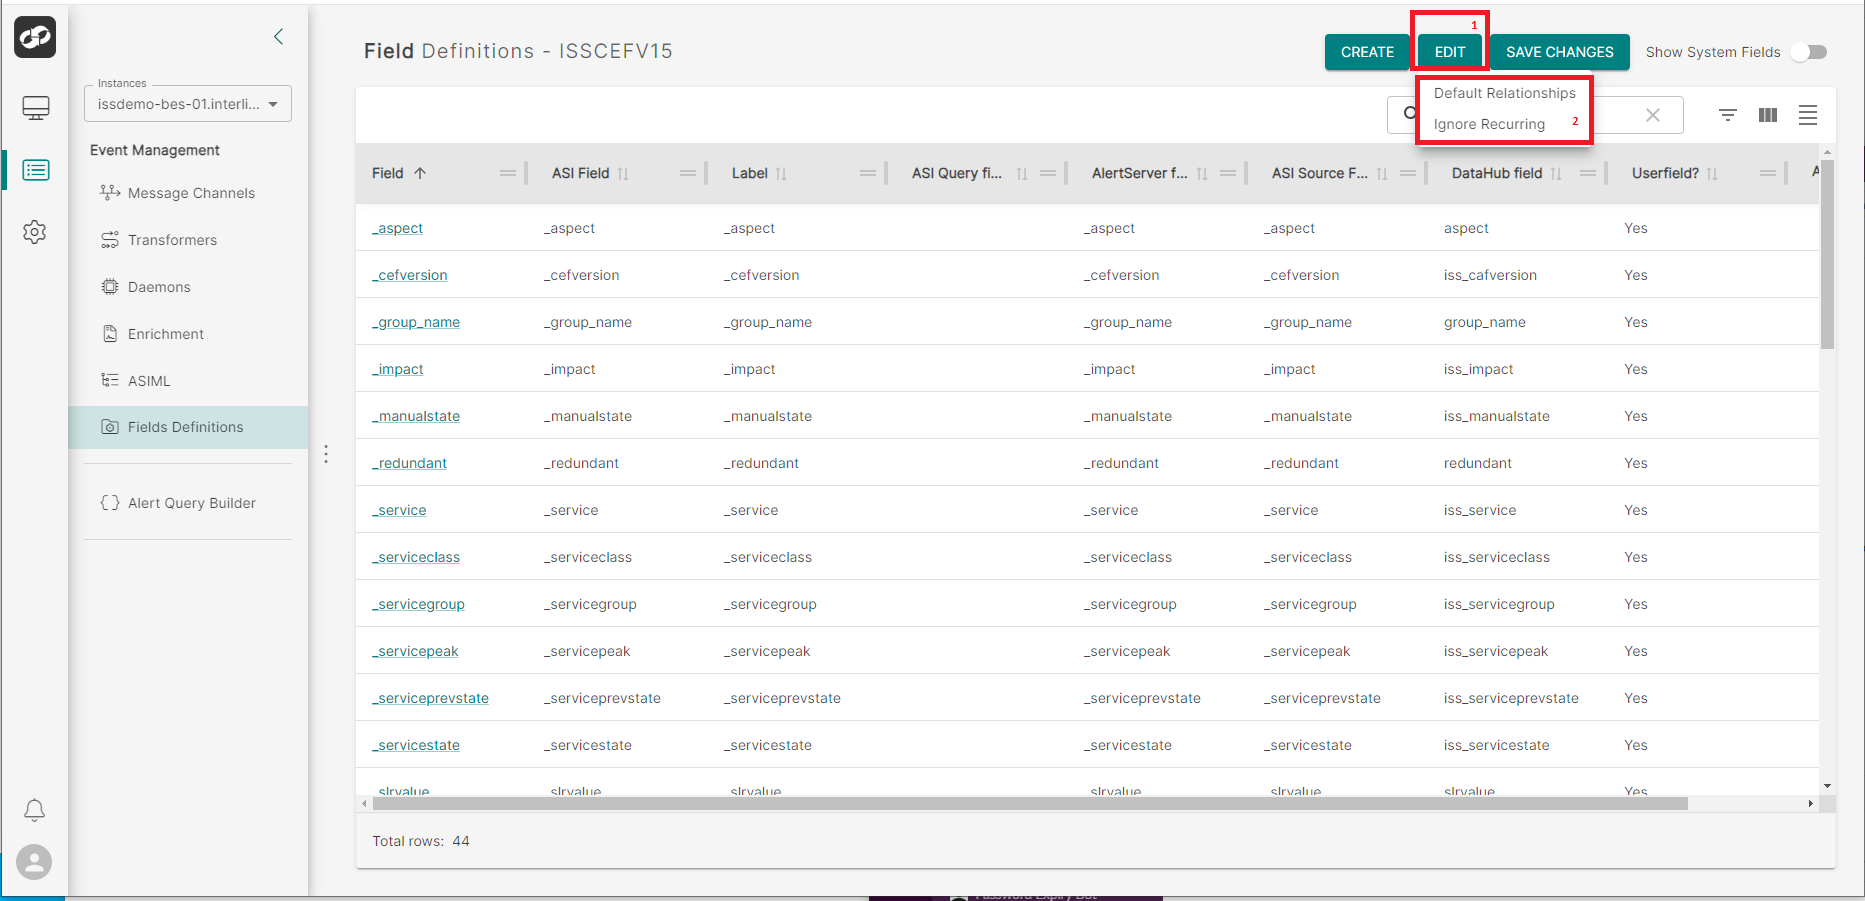
Click Edit at the top of the page (box 1) then select Ignore Recurring from the options list.
You will then be presented with the Ignore Recurring page

You will see a list of available Fields on the left and the defined Ignored Recurring Fields on the right.
To add a new field to the list:
- Click the checkbox for the relevant field
- Click the
>button between the two lists
To remove a new field from the list:
- Click the checkbox for the relevant field
- Click the
<button between the two lists