Microsoft Entra ID Authorization Provider (OIDC)
The following steps will guide you through configuring a OIDC Authorization Provider using Microsoft Entra ID as the identity provider for authentication.
Create an App Registration
-
Login to https://portal.azure.com
-
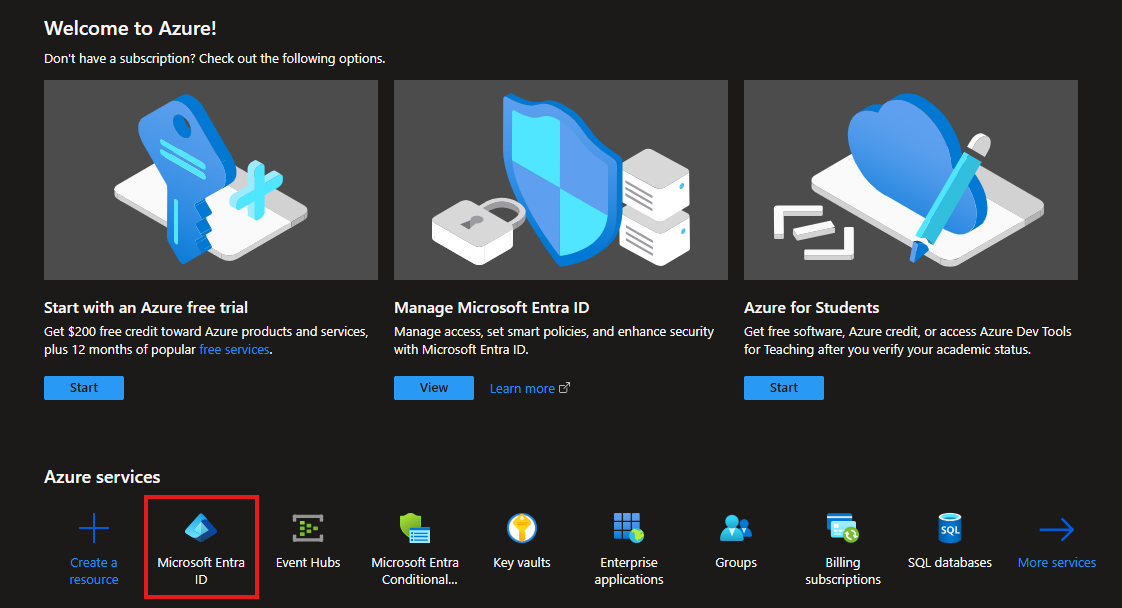
Navigate to Microsoft Entra ID
-
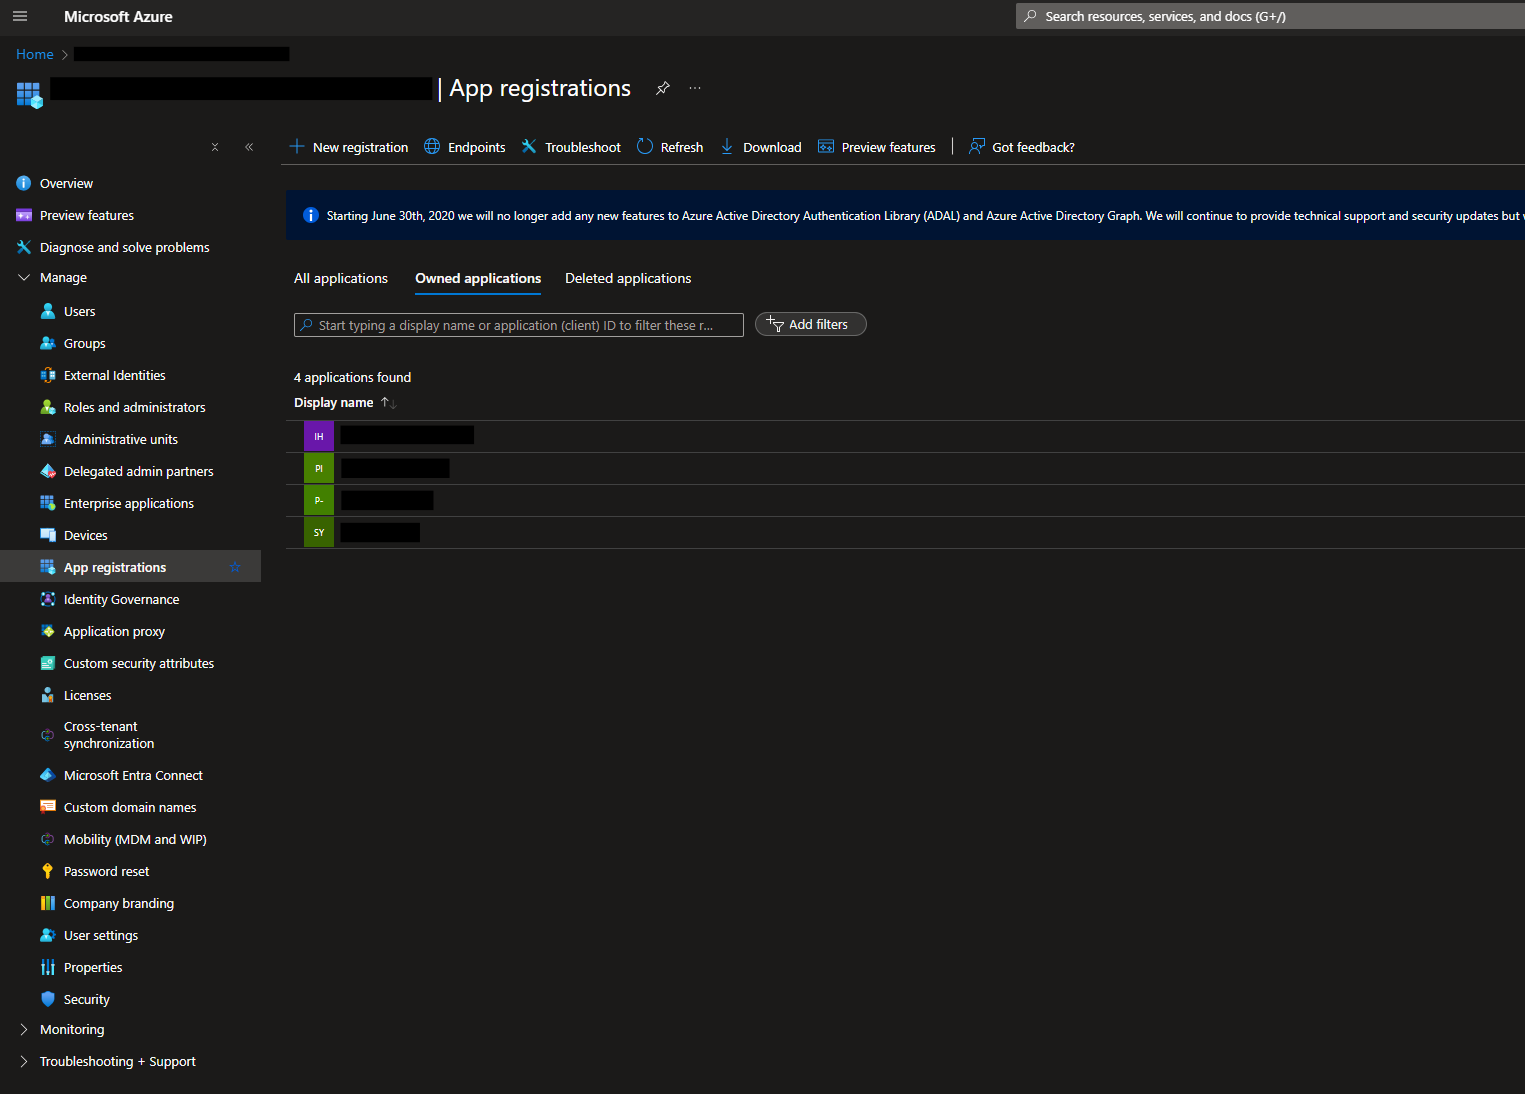
In the left-hand navigation pane, expand Manage and select App registrations
-
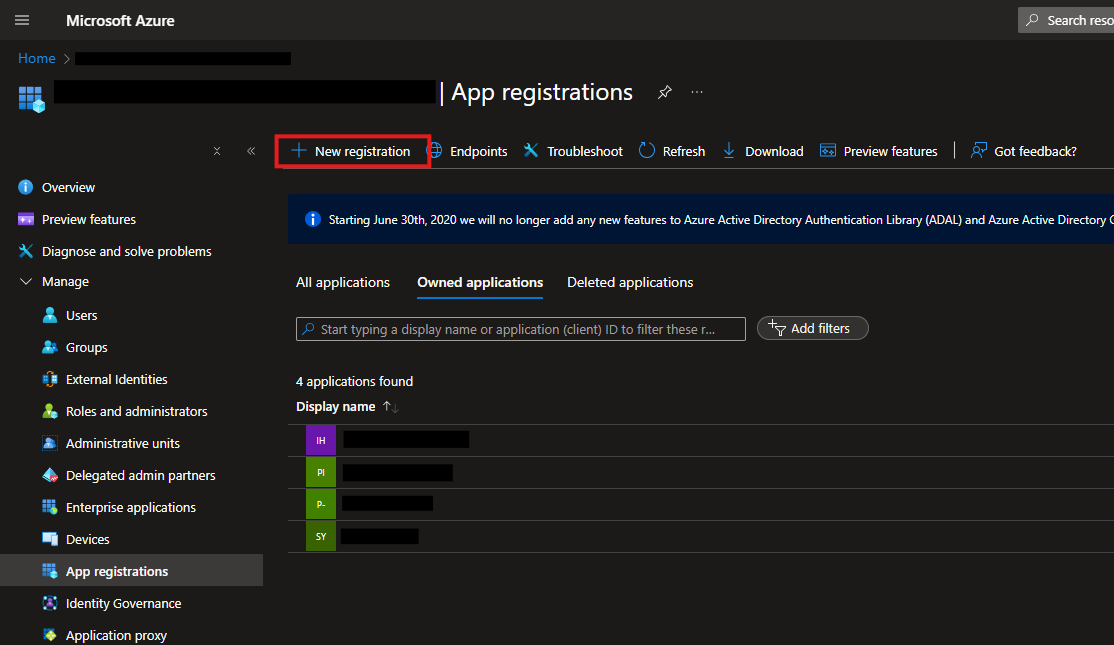
Click New Registration
-
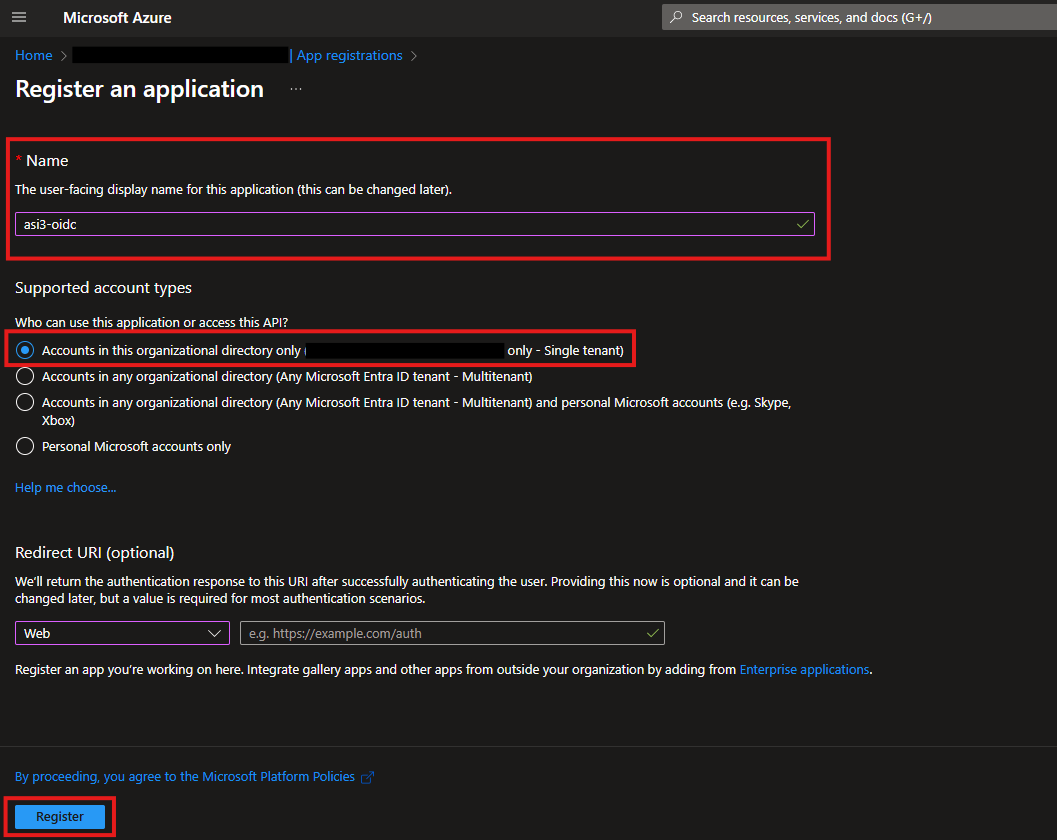
In the Register an application form, enter a name for your application. Under Supported account types, select Accounts in this organizational directory only, then click Register
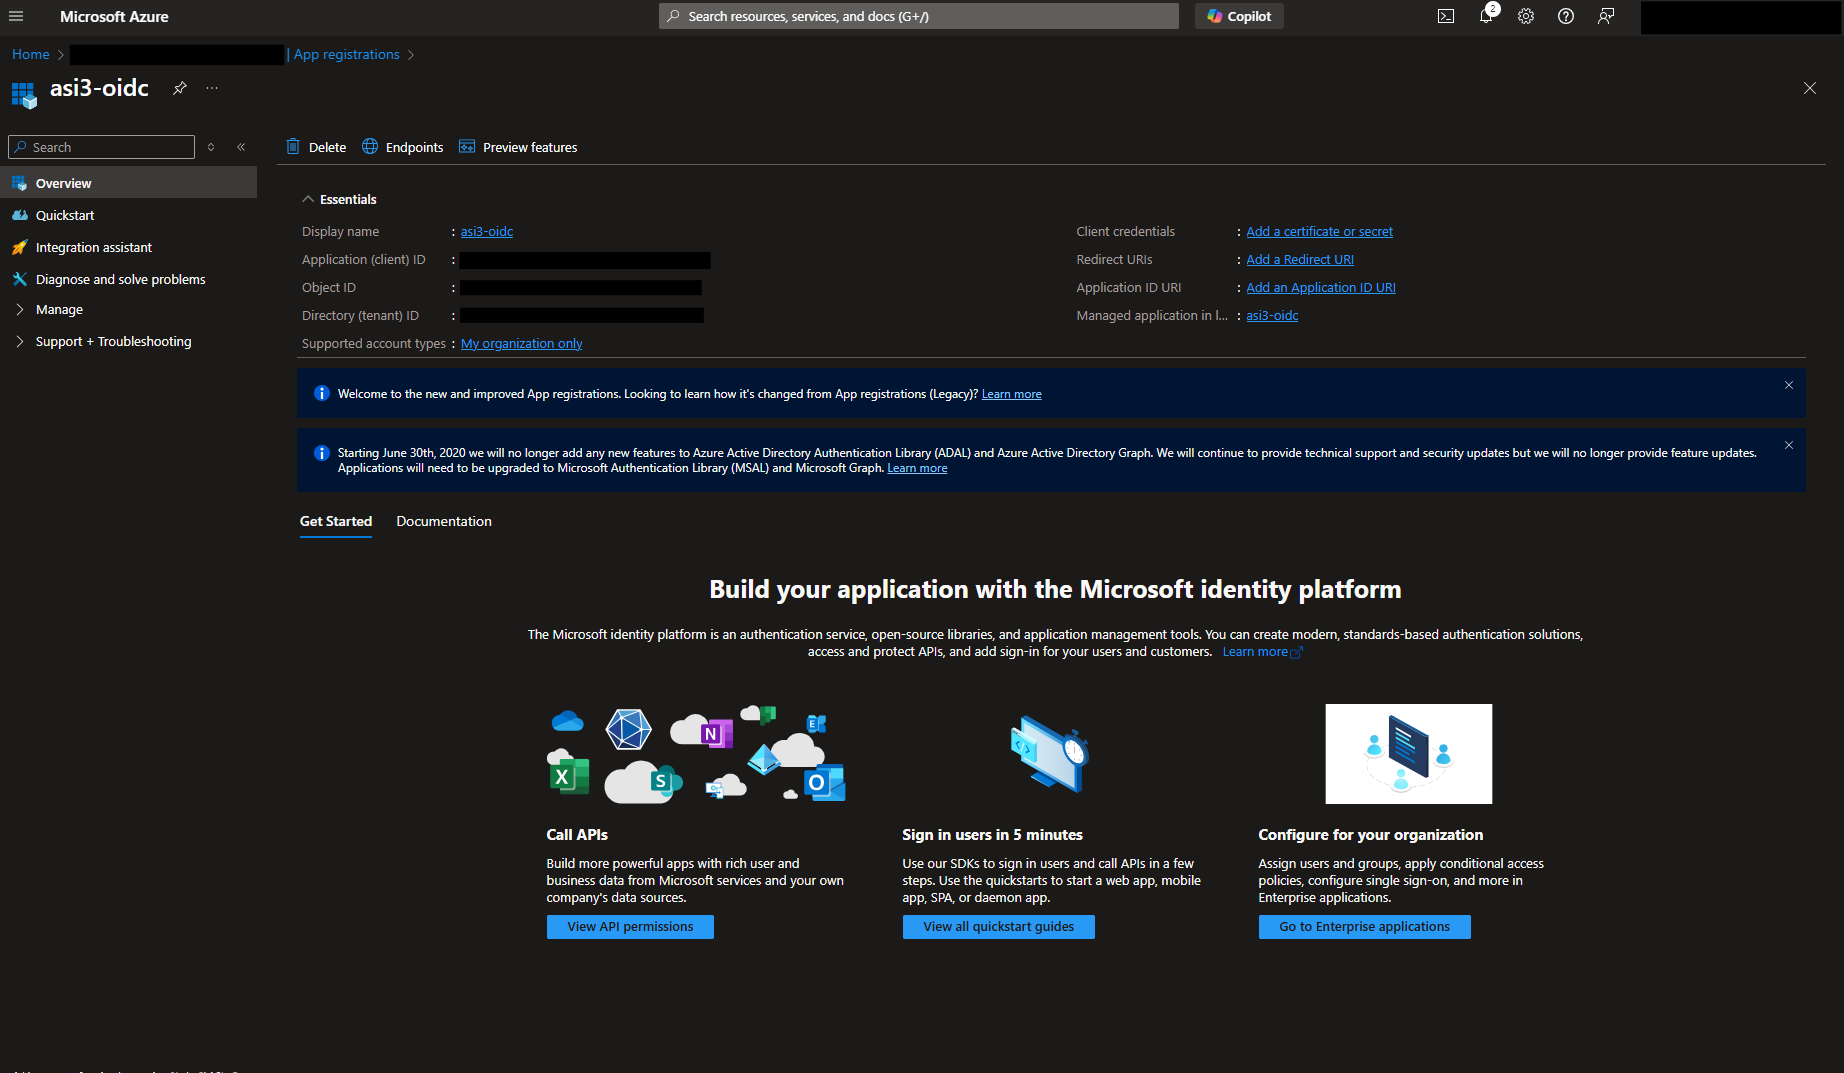
You will then be taken to the overview page of your newly created application
-
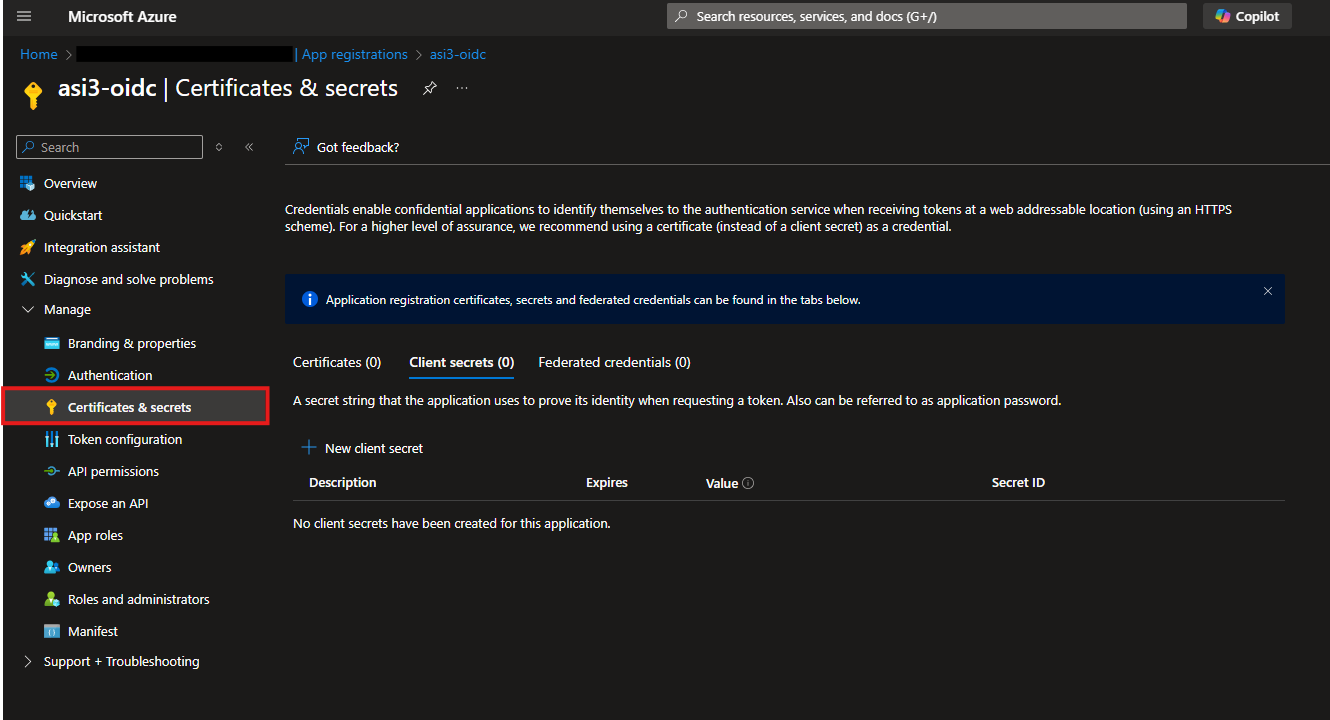
In the left-hand navigation pane, expand Manage and select Certificates & secrets
-
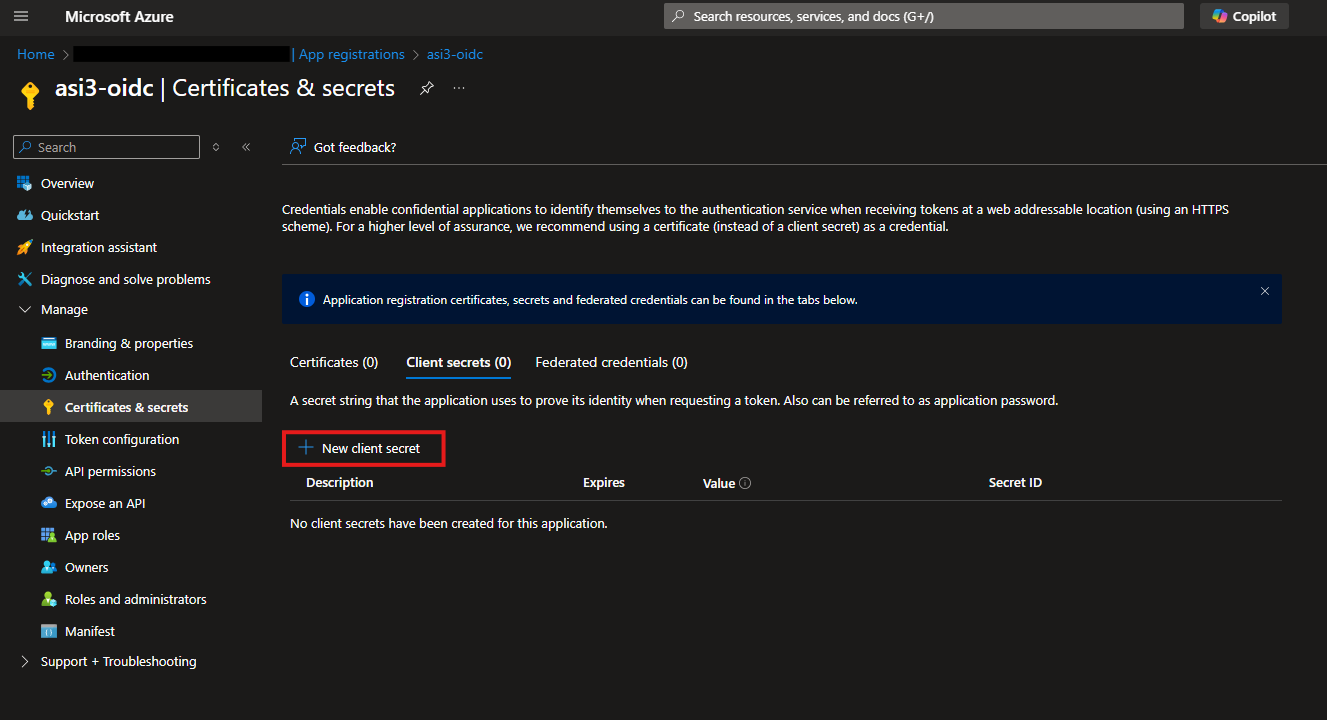
Click New client secret to generate a new secret for your application
Provide a description for your client secret (optional), and set an expiration period
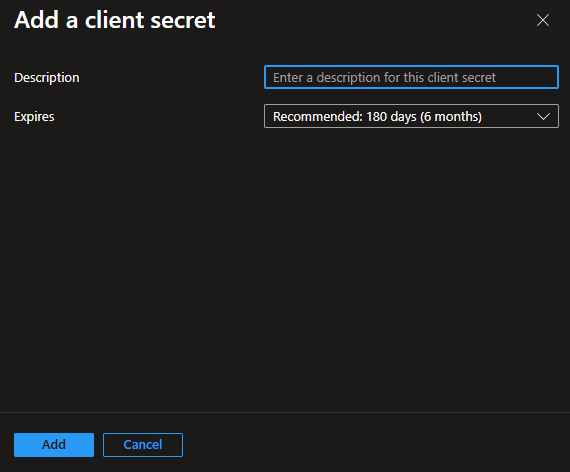
importantMake sure to copy the Value of the newly created client secret, as it will not be visible again after leaving this page
-
Navigate to Manage -> Token Configuration
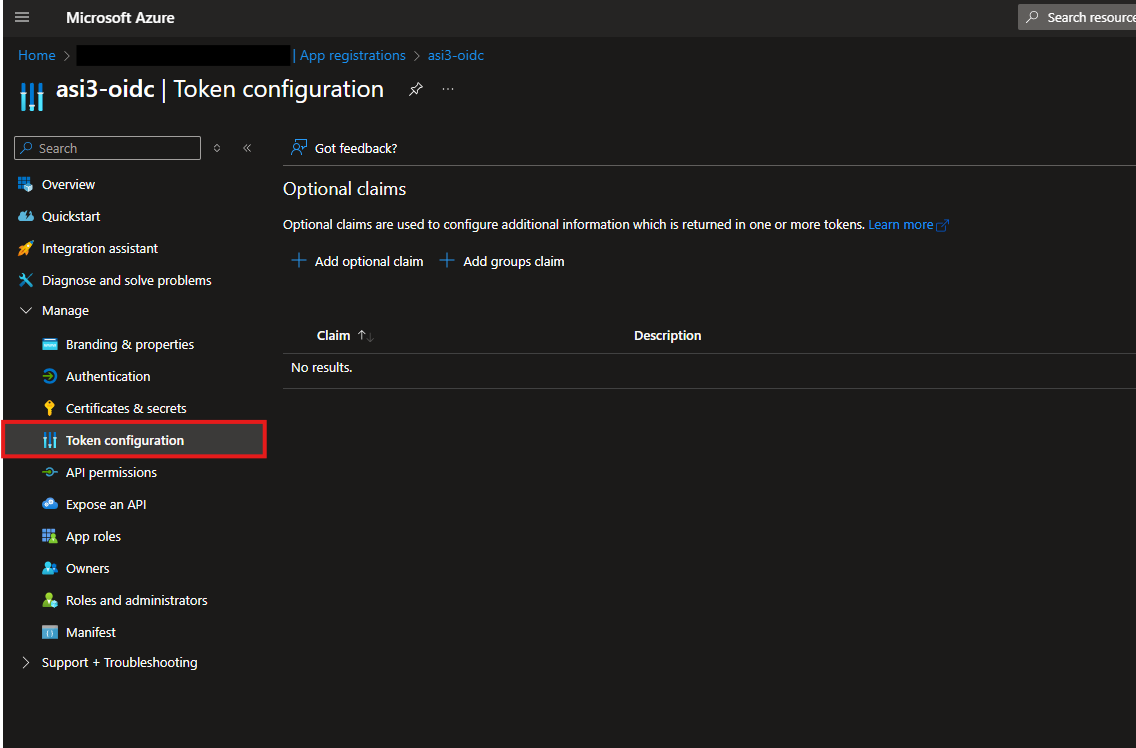
-
Click Add optional claim and add the following claims:
Token Type Claim Name Access given_name Access family_name
-
Return to the Overview page and make a note of the Application (client) ID
-
While still on the Overview page, click Endpoints and make note of both the OAuth 2.0 authorization endpoint (v2) and the OAuth 2.0 token endpoint (v2)
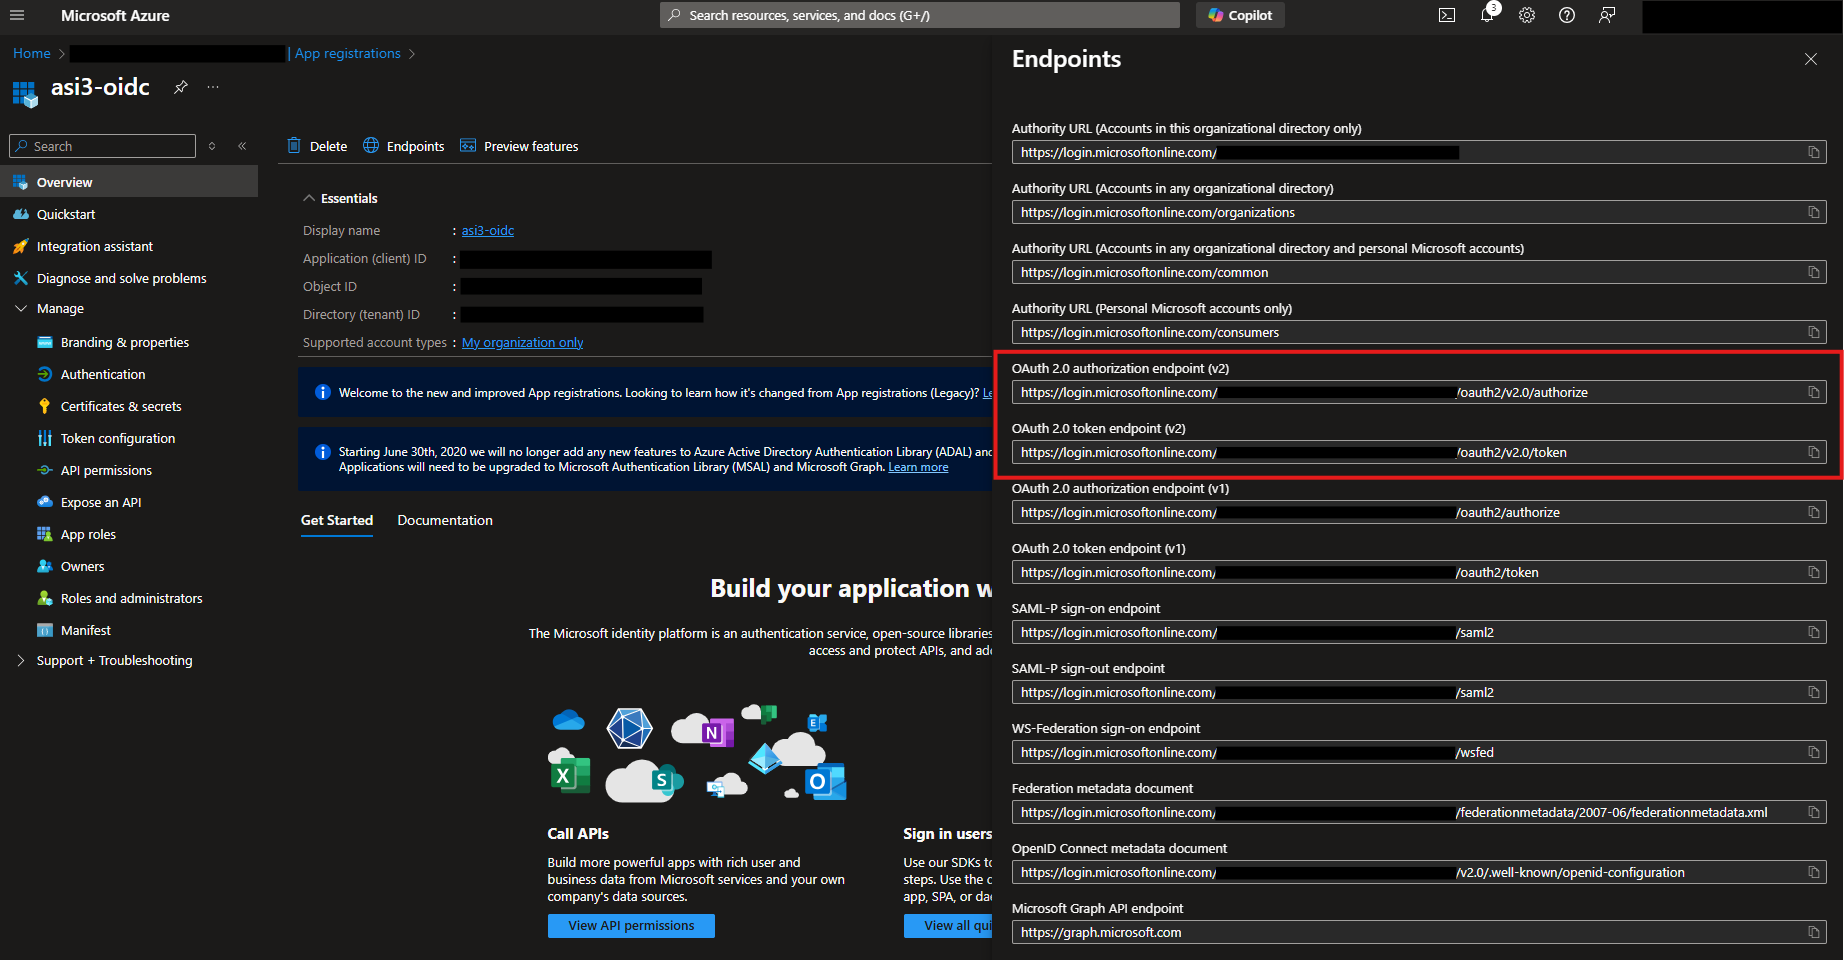
-
Navigate to Manage -> Authentication
-
Click Add a platform, then select Web
-
Set the Redirect URI to:
https://<asi3_hostname>:50443/auth/realms/ASI/broker/<app_name>/endpoint
tipThe
<app_name>refers to the name you provided when creating the application. You’ll use this name later when configuring the Authorization Provider in ASI 3.
ASI - Authorization Provider Configuration
-
Login to your ASI 3 system
-
From the left-hand navigation panel, go to Settings → Access Management → Authorization Providers
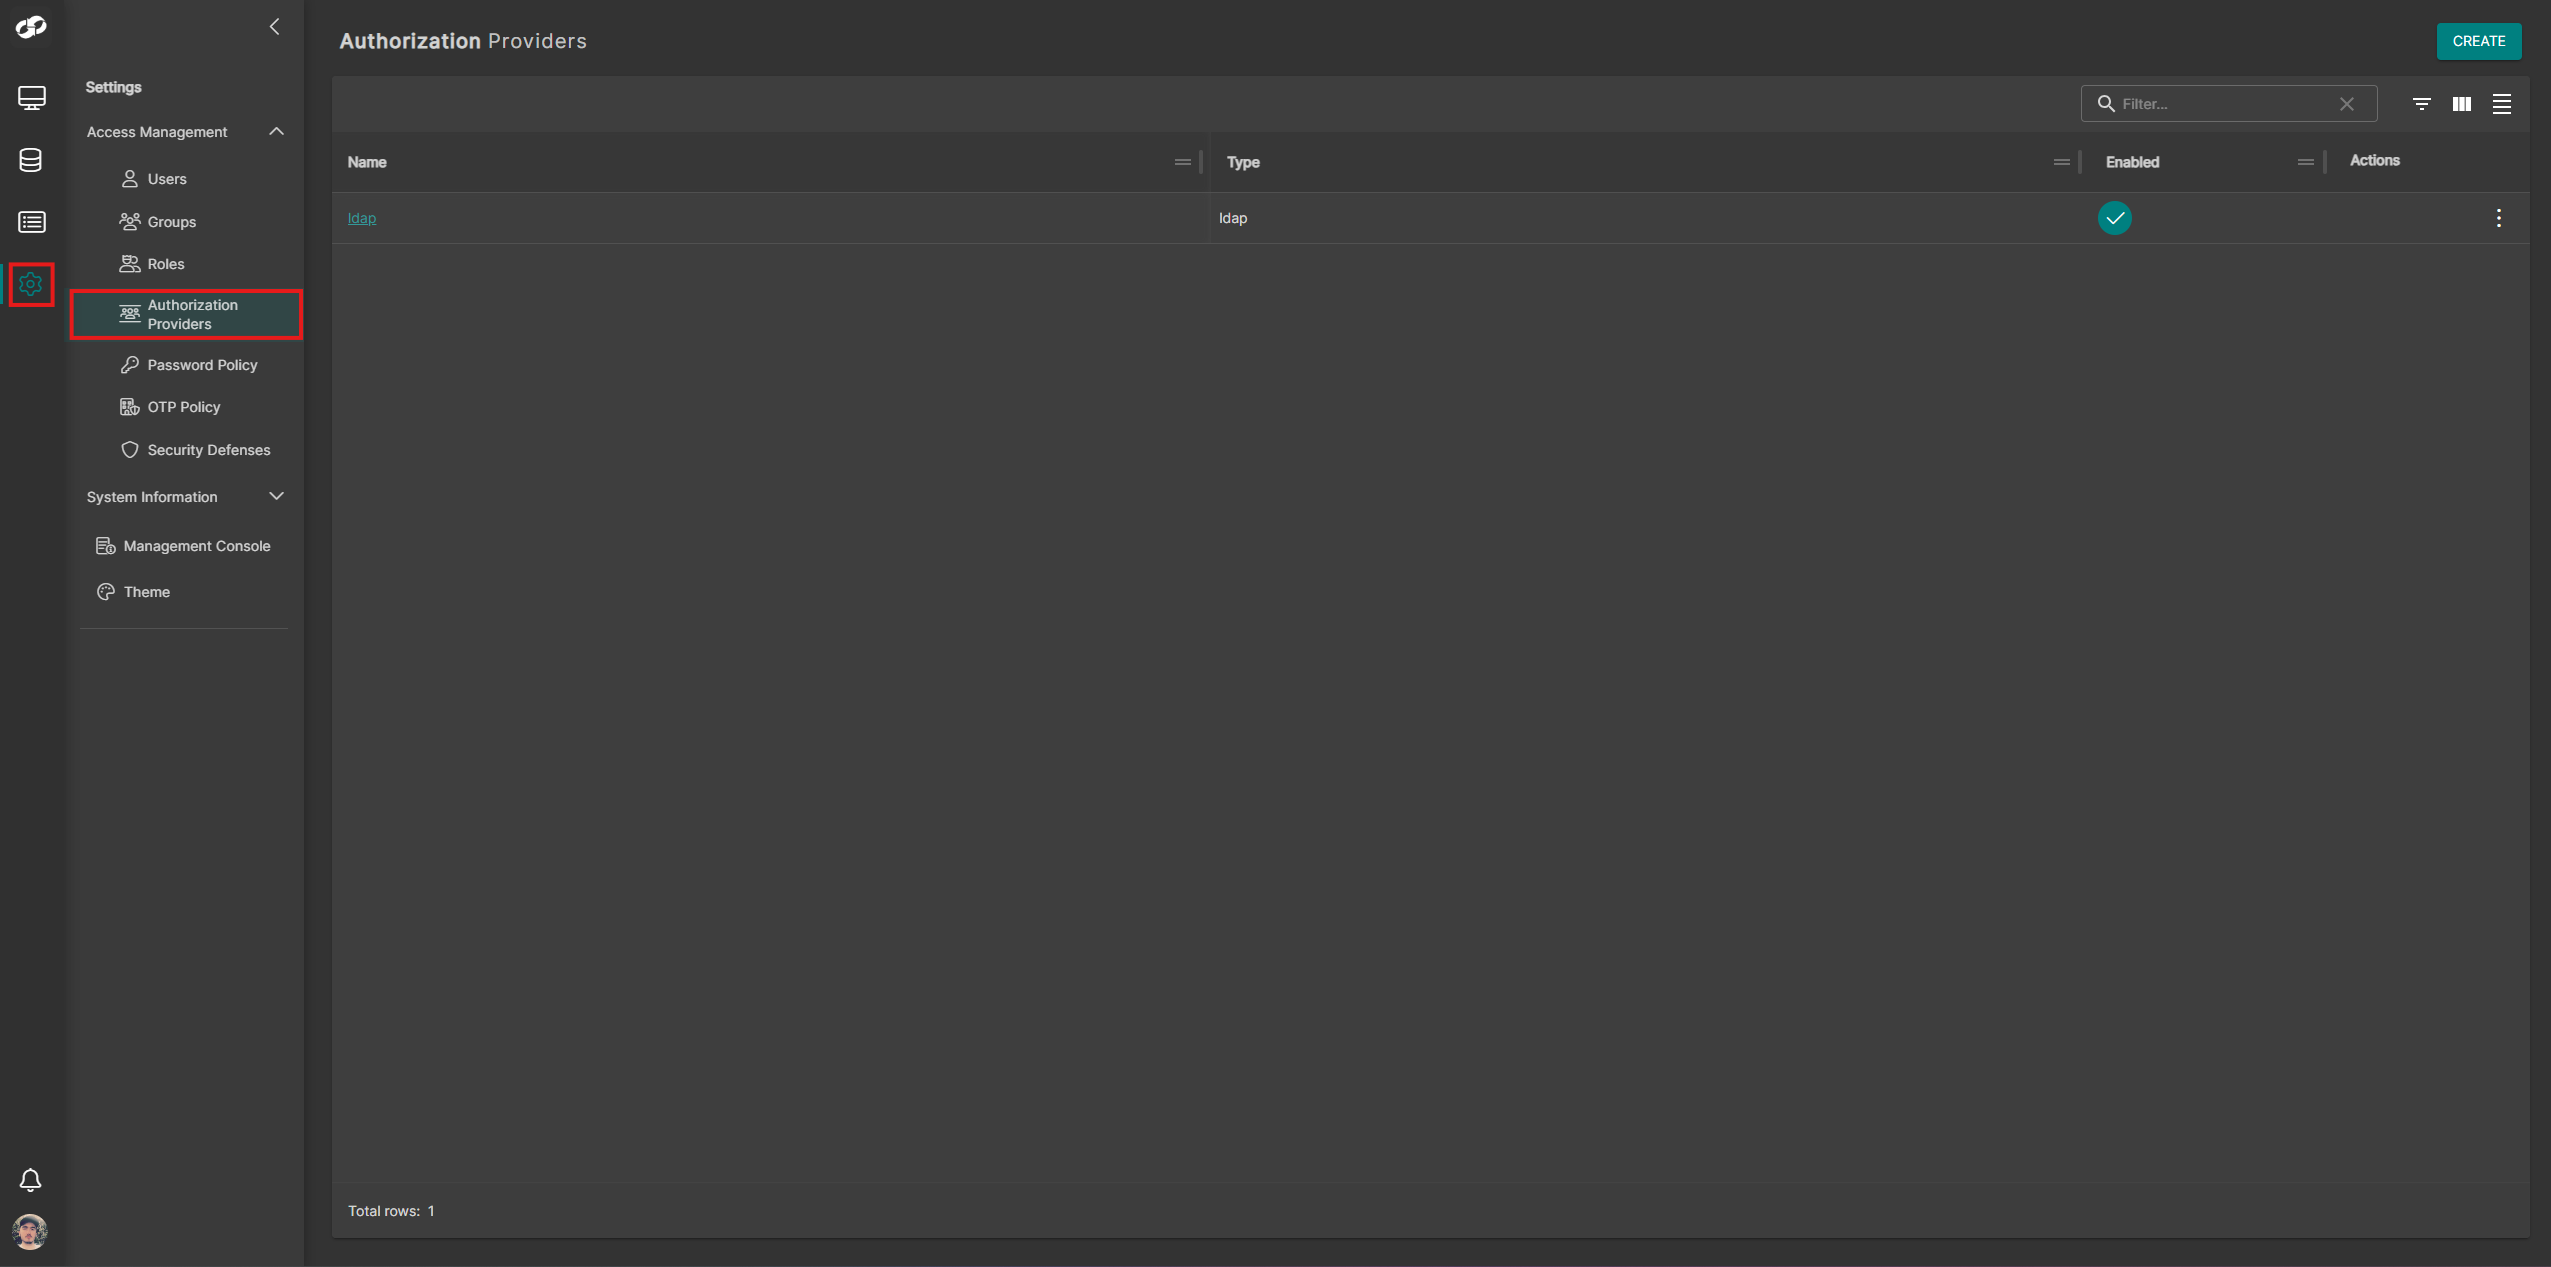
-
Click Create at the top-right and select OIDC. You will be presented with the OIDC configuration form
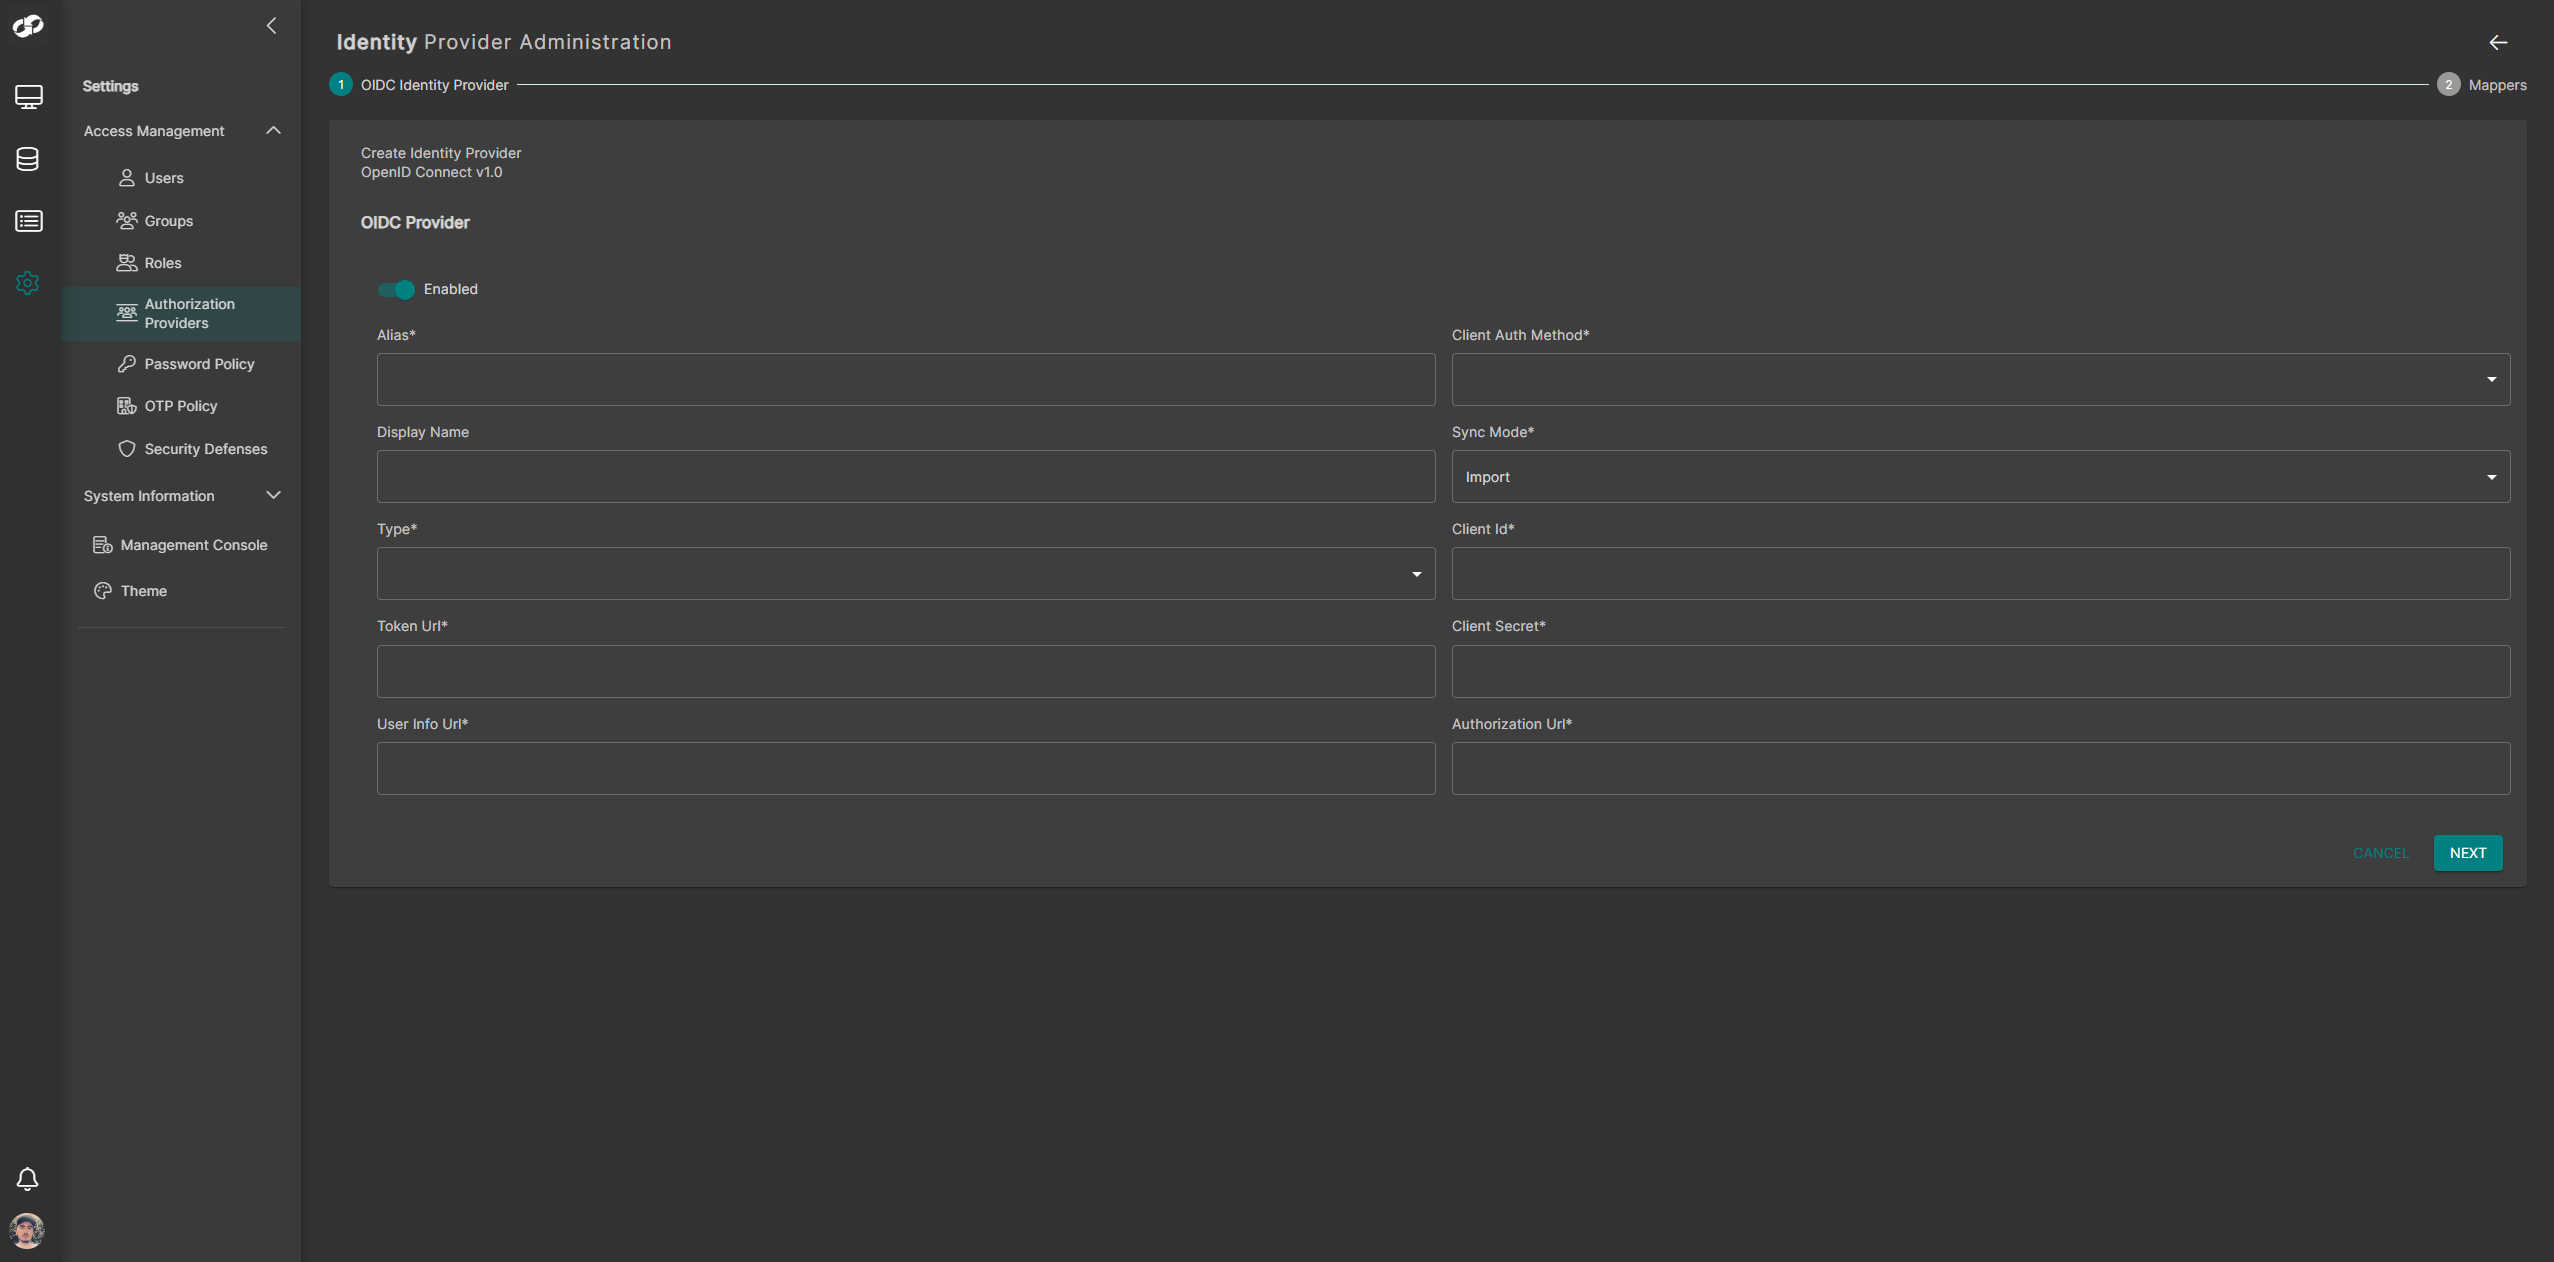
- Configure the fields in the form as follows:
| Field | Value |
|---|---|
| Alias | The name assigned to the application in Microsoft Entra ID |
| Display Name | A user-friendly name for identifying the Authorization Provider in ASI 3 |
| Type | OIDC |
| Token URL | The OAuth 2.0 Token Endpoint copied from the Entra ID App Registration |
| User Info Url | https://graph.microsoft.com/oidc/userinfo |
| Client Auth Method | Client secret sent as post |
| Sync Mode | Import |
| Client ID | The Application (client) ID from your Entra ID App Registration |
| Client Secret | The client secret generated during app registration |
| Authorization Url | The OAuth 2.0 Authorization Endpoint copied from the Entra ID portal |
-
Once all fields are configured, proceed by clicking Next to begin setting up the mappers
-
On the Mappers page, click Add Mappers
-
Create a username mapper with the following configuration:
| Name | Sync Mode | Mapper Type | Username Format | Target |
|---|---|---|---|---|
| username | First import | Username Template Importer | ${ALIAS}.${CLAIM.given*name}*${ALIAS}.${CLAIM.family_name} | Local |
- When you’ve finished configuring the mappers, click Finish
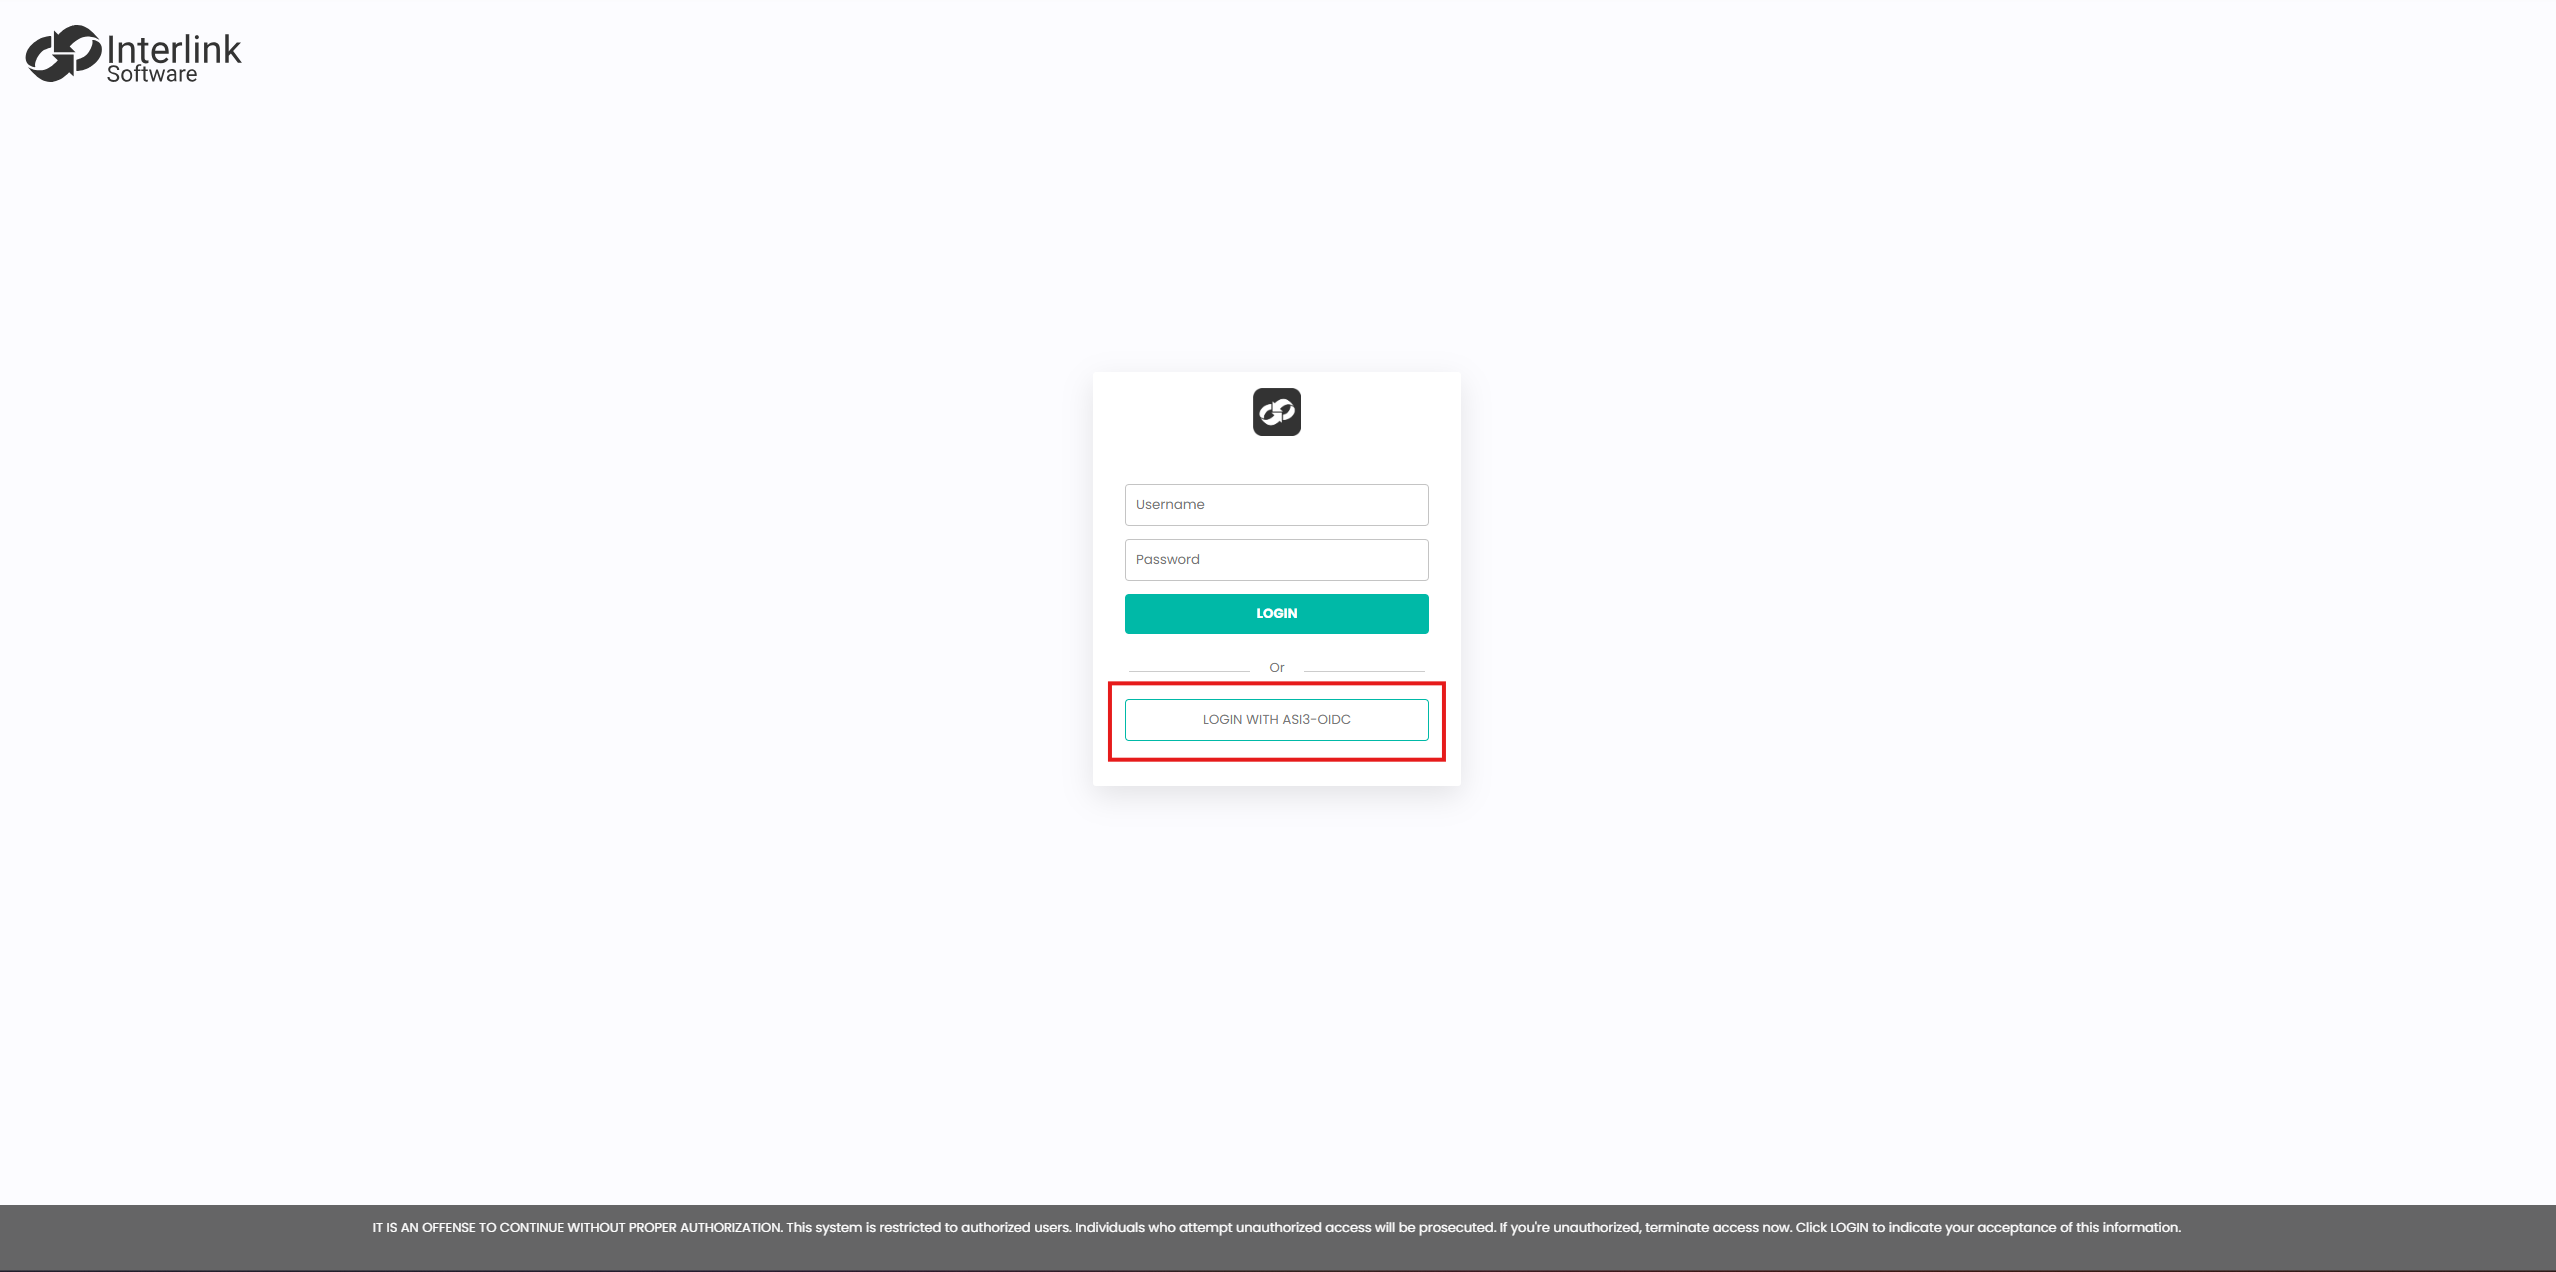
After setup is complete, users will see a new option on the ASI 3 login screen that allows them to sign in using their Microsoft Entra ID credentials
If you experience any issues after configuring the provider, please contact Support