Microsoft Entra ID Authorization Provider (SAML)
The following steps will guide you through configuring a SAML Authorization Provider using Microsoft Entra ID as the identity provider for authentication.
Create an Enterprise Application
-
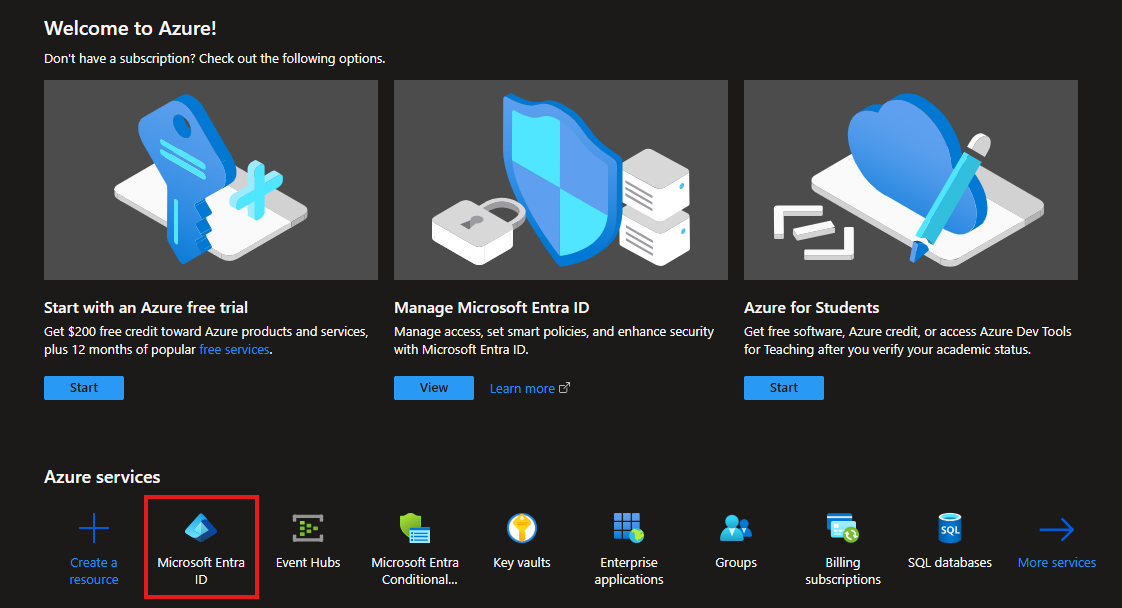
Login to https://portal.azure.com
-
Navigate to Microsoft Entra ID
-
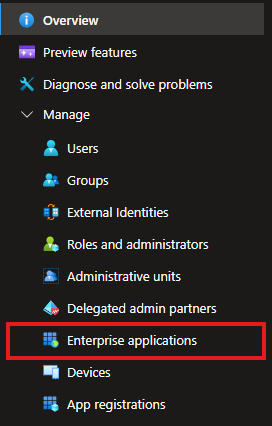
In the left-hand navigation pane, expand Manage and select Enterprise Applications
-
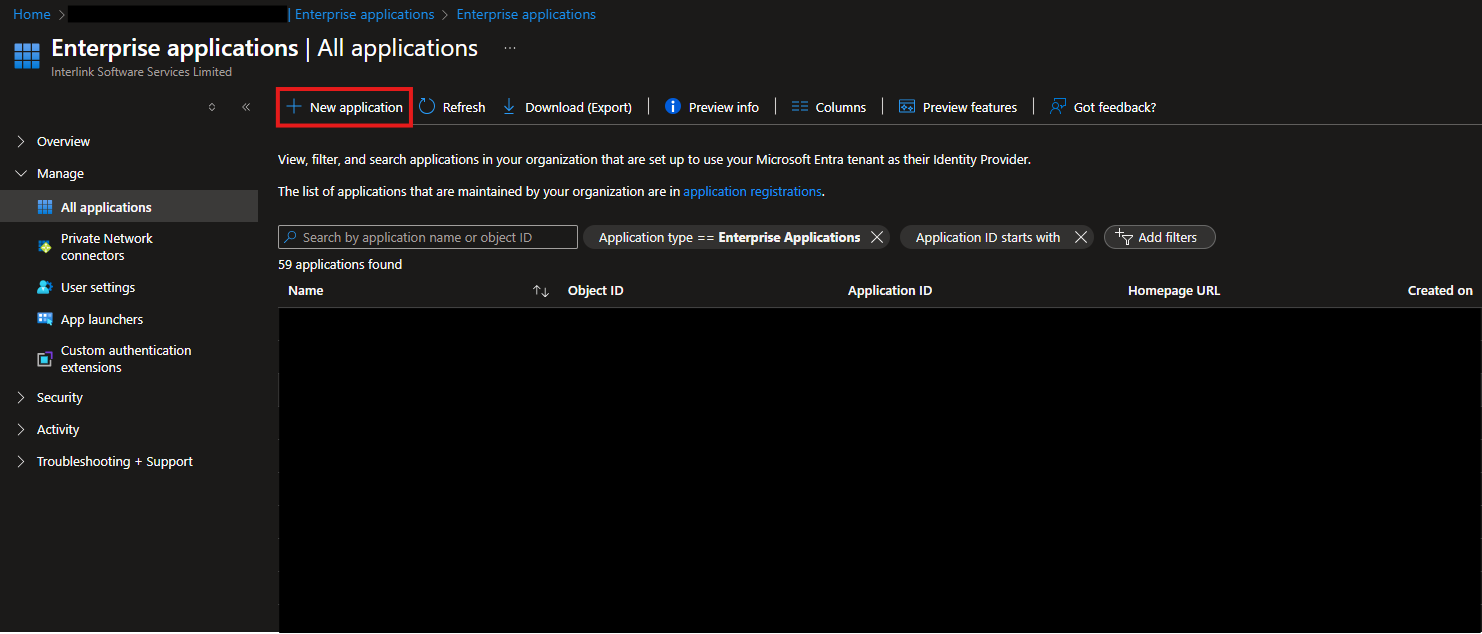
Click New application to begin creating your new SAML application
-
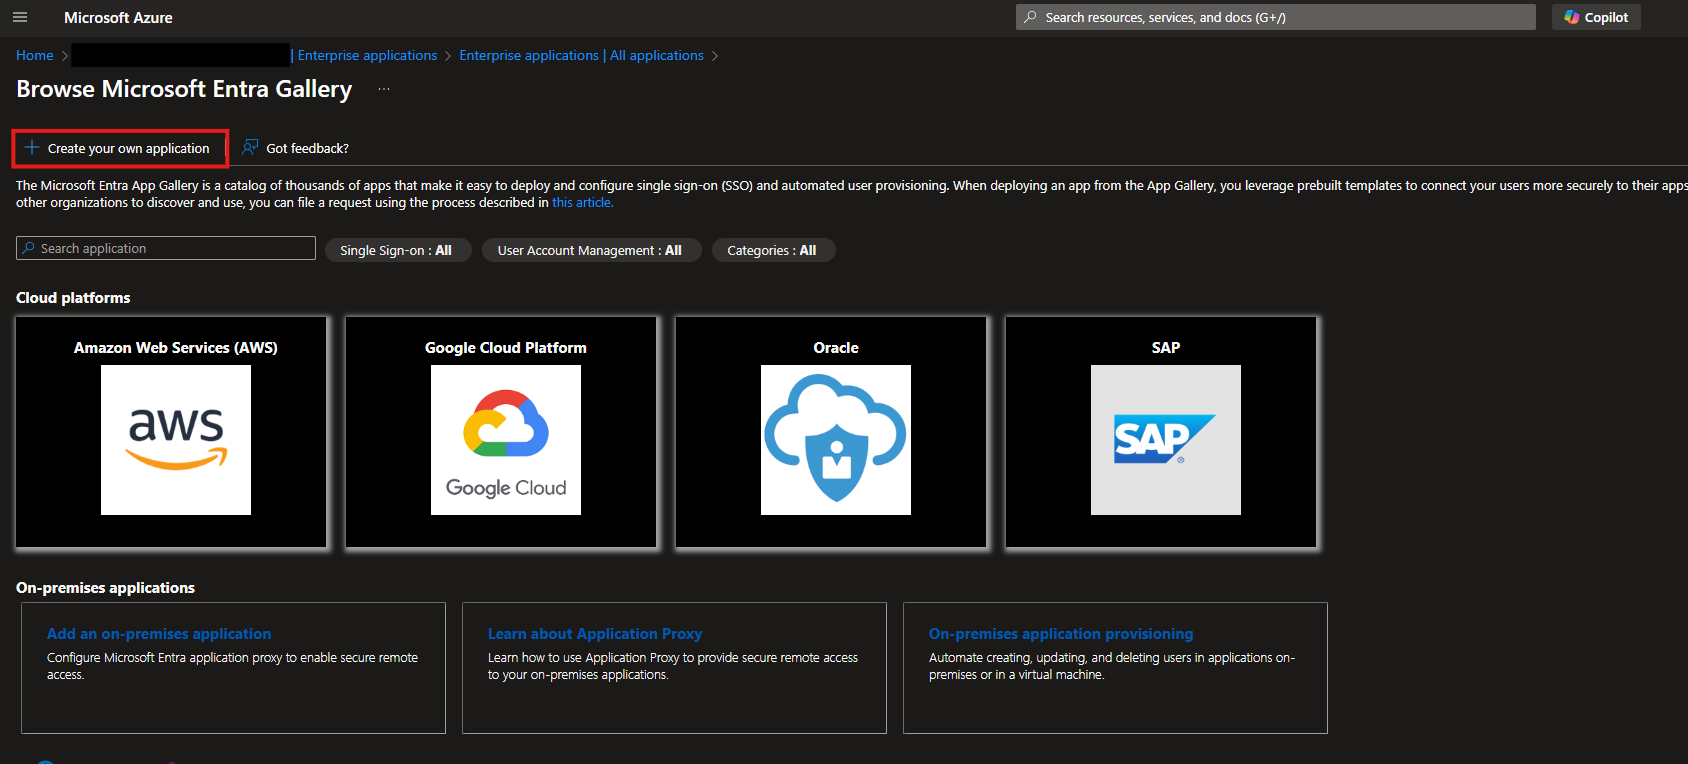
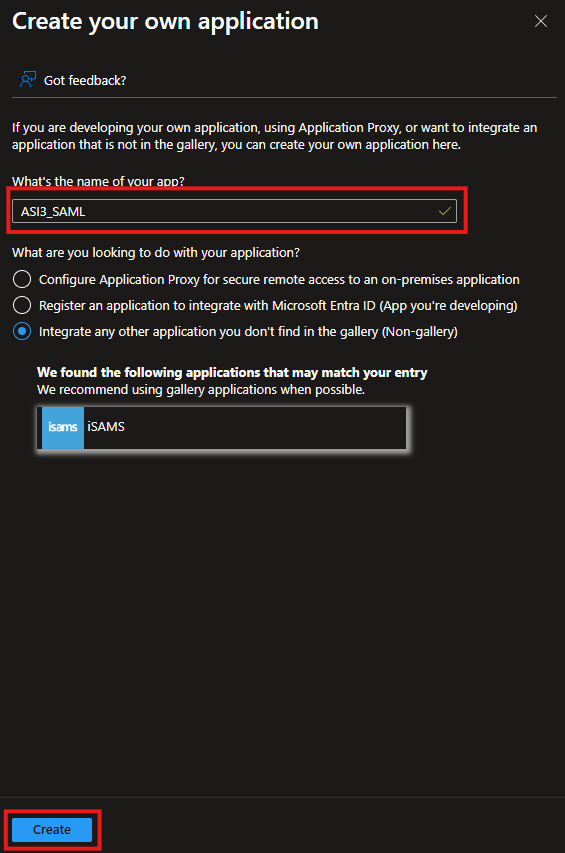
Click Create your own application
-
Enter a descriptive name for your application
-
Click Create
You will be redirected to the application's overview page
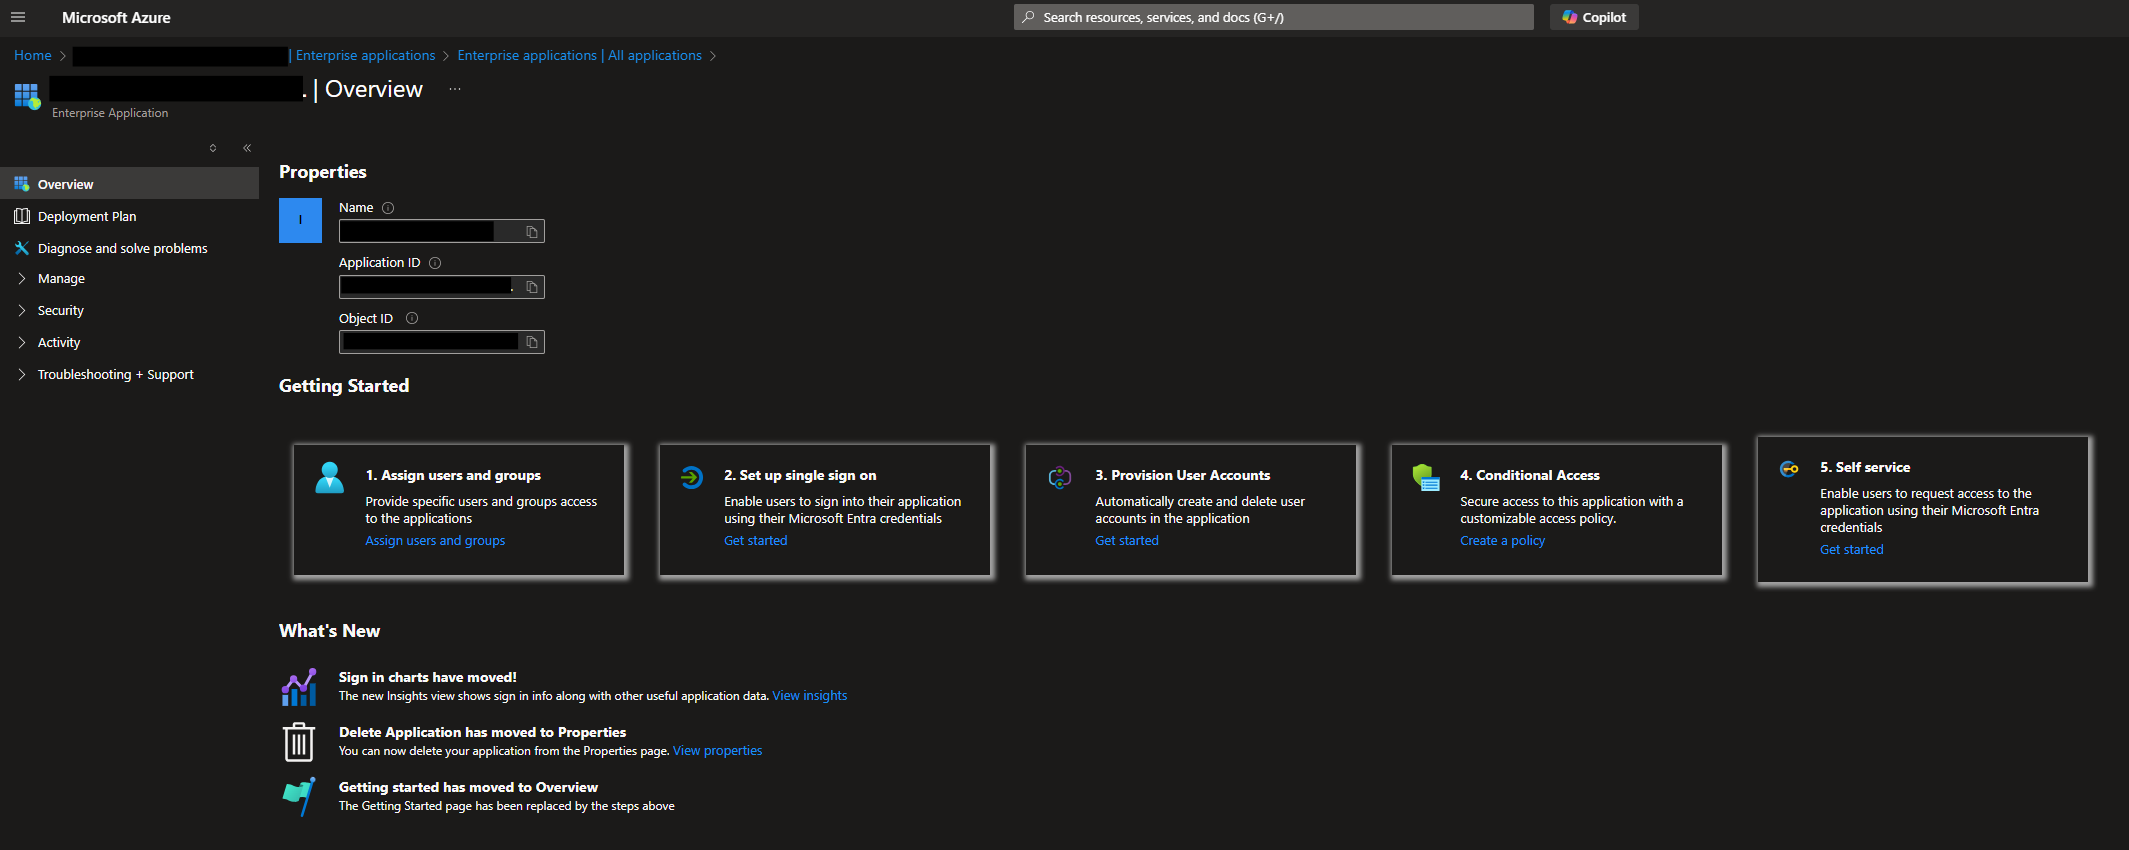
Configure Single sign-on
You now need to configure SAML single sign-on for your Enterprise Application
-
From the left-hand navigation panel, expand Manage, then click Single sign-on

-
On the Single sign-on page, select SAML
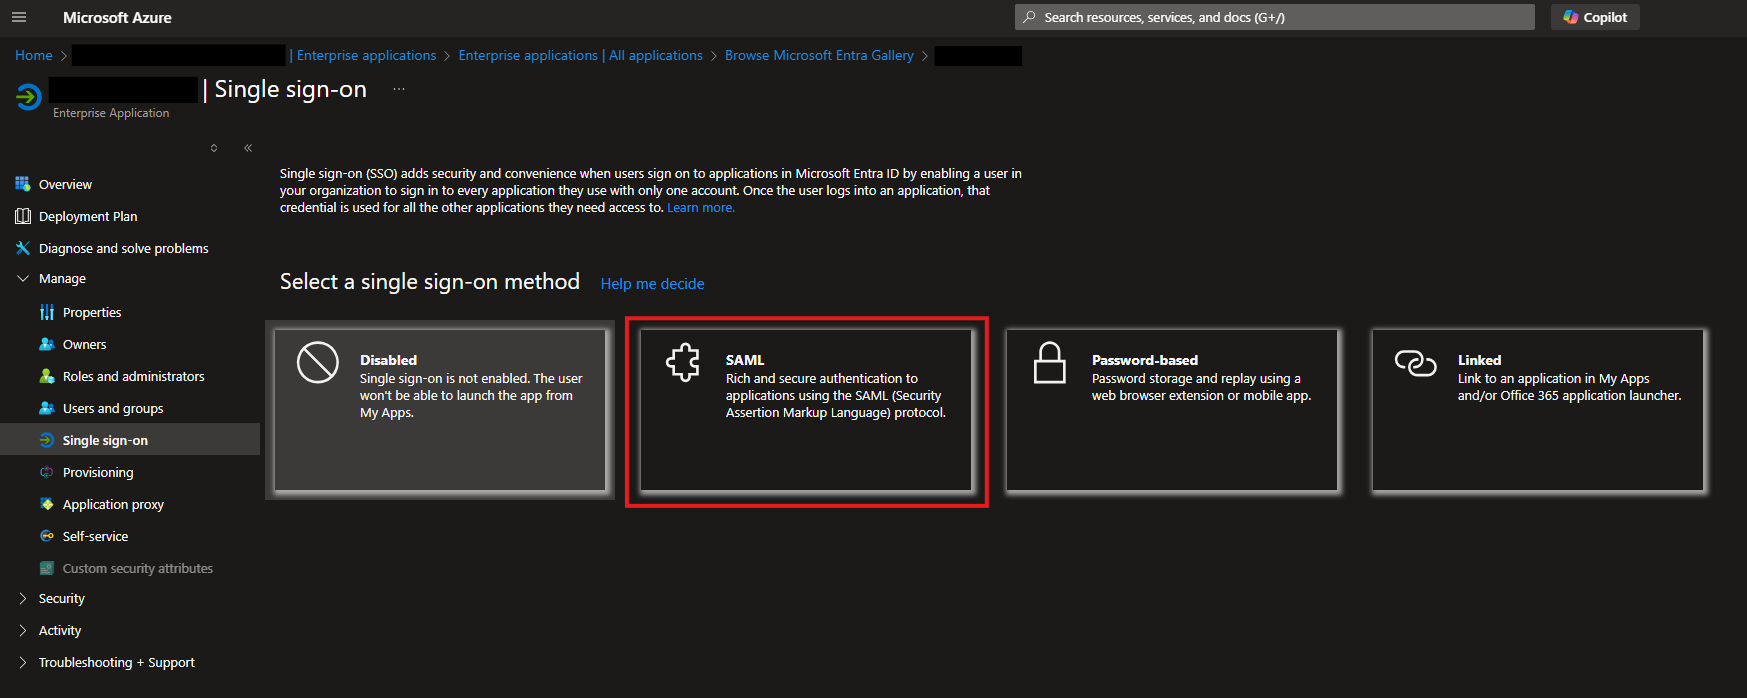
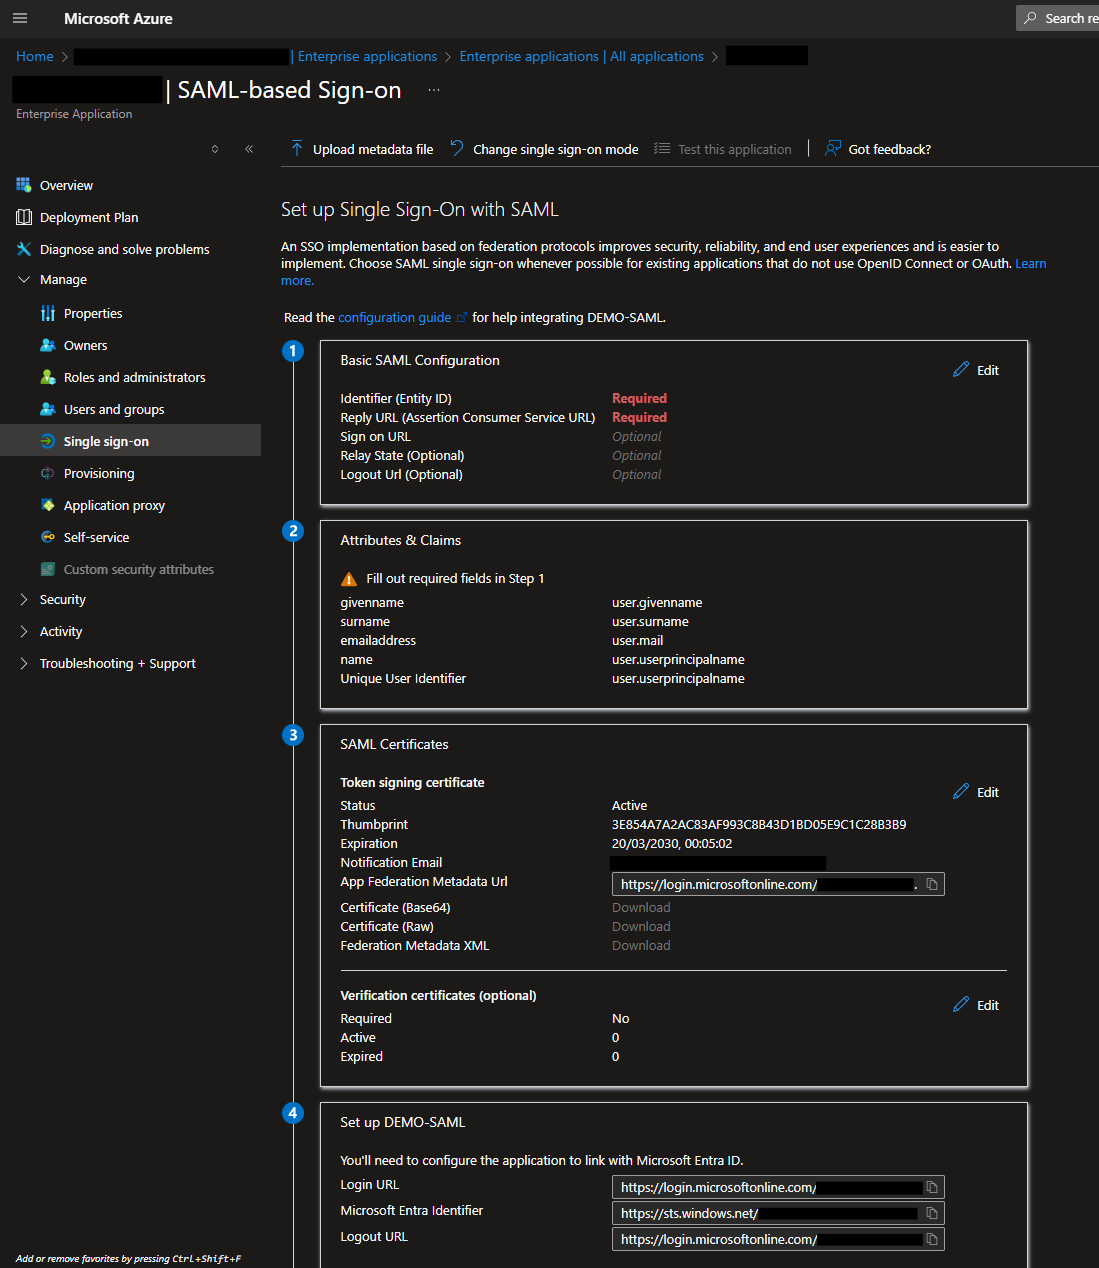
You will then see the configuration options for setting up single sign-on
-
In the Basic SAML Configuration section, click Edit and configure the following:
- Identifier (Entity ID):
https://<hostname_of_asi3_system>>:50443/auth/realms/ASI - Reply URL (Assertion Consumer Service URL):
https://<hostname_of_asi3_system>>:50443/auth/realms/ASI/broker/<auth_provider_name>/endpoint
- Identifier (Entity ID):
The <auth_provider_name> refers to the name of the Authorization Provider that you’ll configure later in ASI 3
-
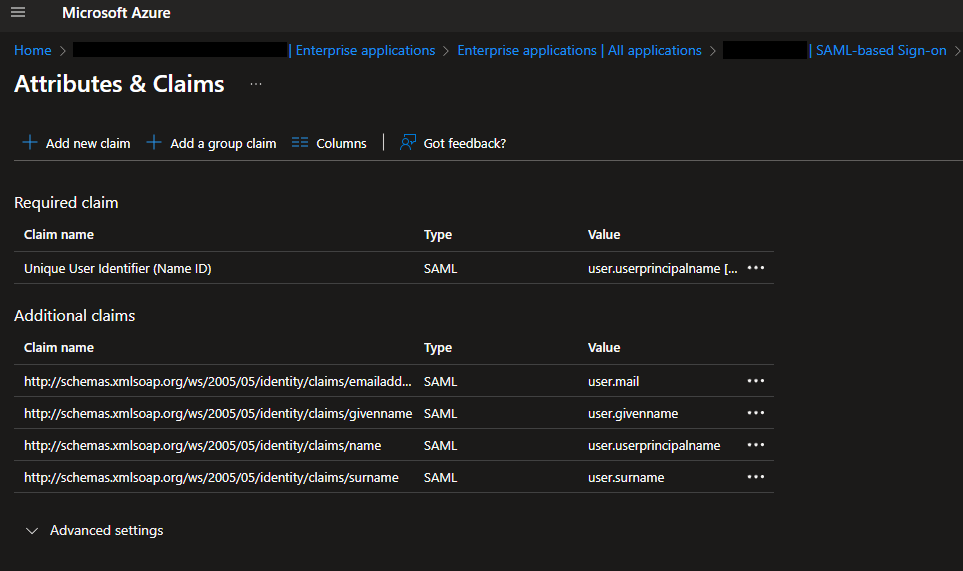
In the Attributes & Claims section, click Edit. Remove the namespace from all existing claims and then add the following two claims:
-
Click Edit
You will be presented with the default Attributes & Claims that were configured when setting up the Enterprise Application
-
Add the following claims:
Claim Name Type Value username Claim user.principlenamegroup Group Claim http://schemas.microsoft.com/ws/2008/06/identity/claims/groups
-
To map a Microsoft Entra ID group to your Enterprise Application, proceed with the steps outlined below
-
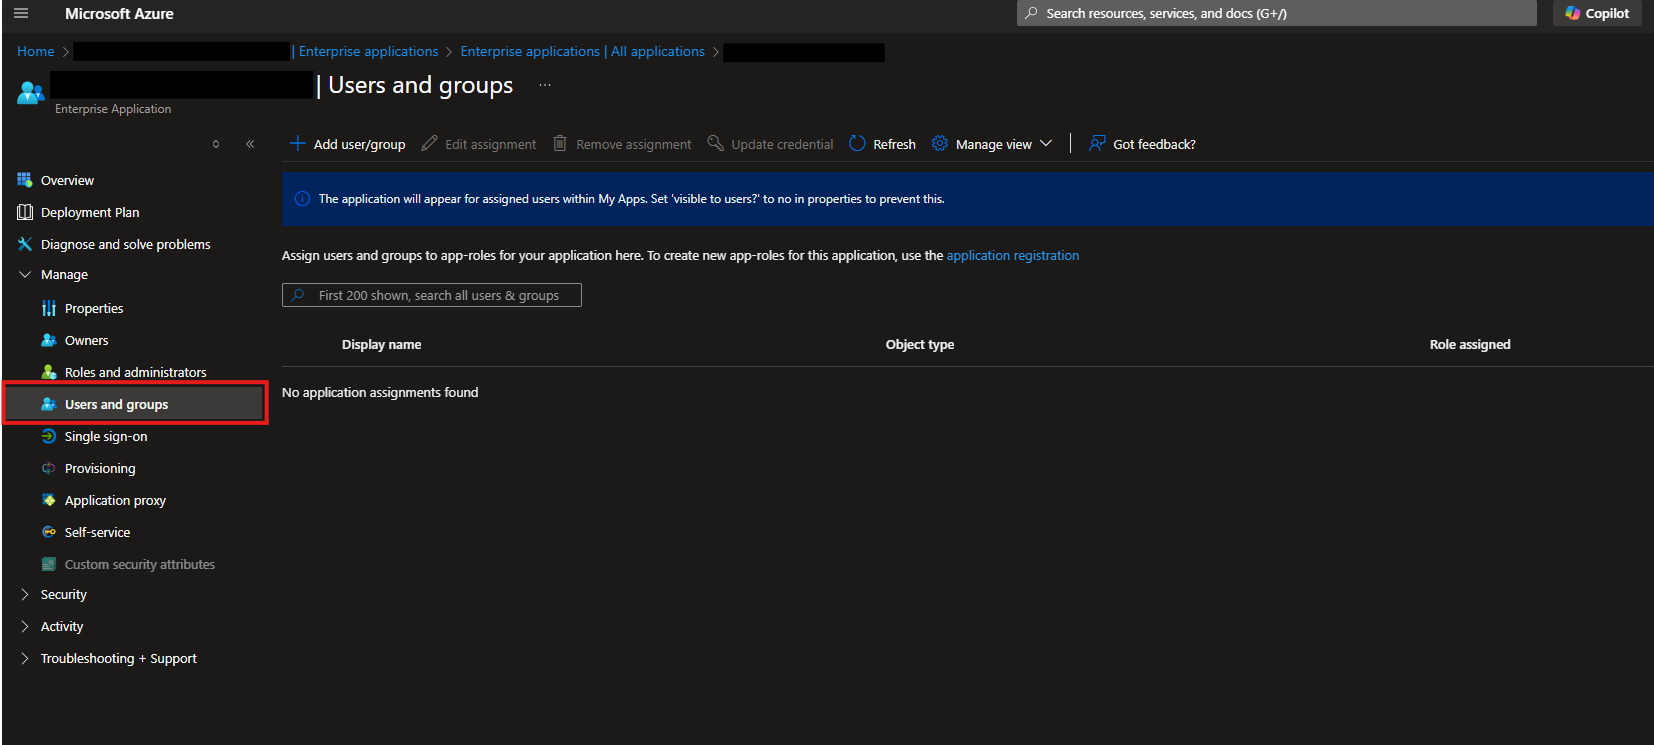
Navigate to the Users and groups section in your Enterprise Application.
-
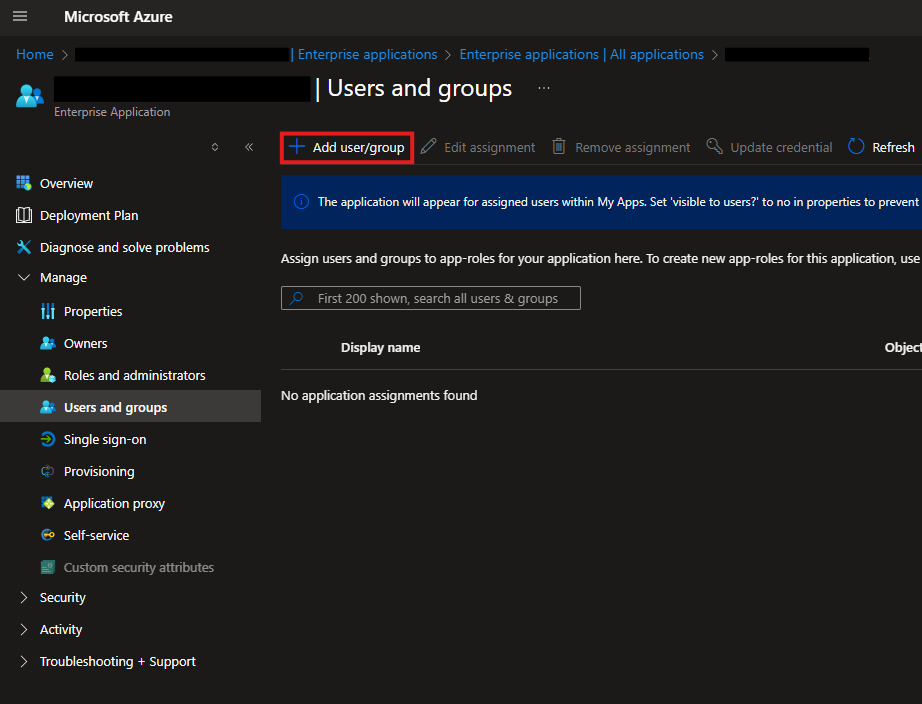
Click Add user/group
-
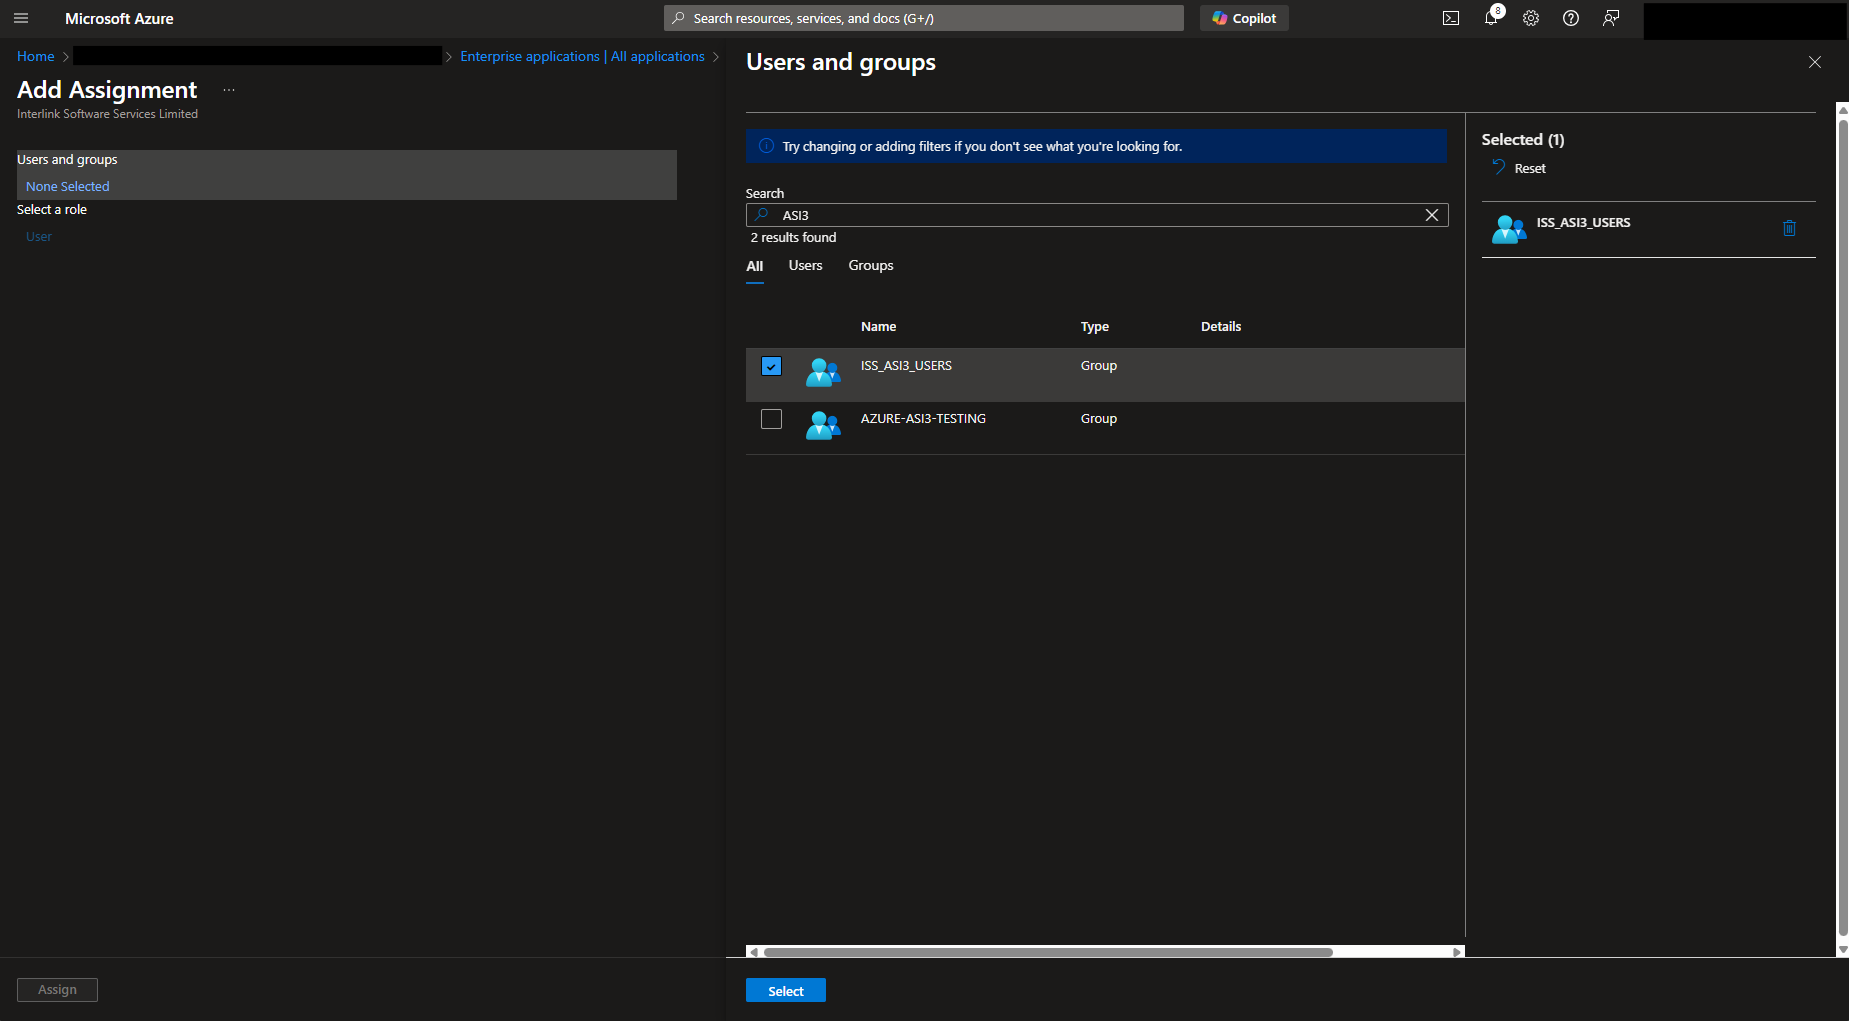
Under Users and groups, select the group you wish to assign to the application.
-
Click Assign
ASI - Authorization Provider Configuration
Once the Enterprise Application is ready, proceed to configure the Authorization Provider in ASI 3
-
Login to your ASI 3 system
-
From the left-hand navigation panel, go to Settings → Access Management → Authorization Providers
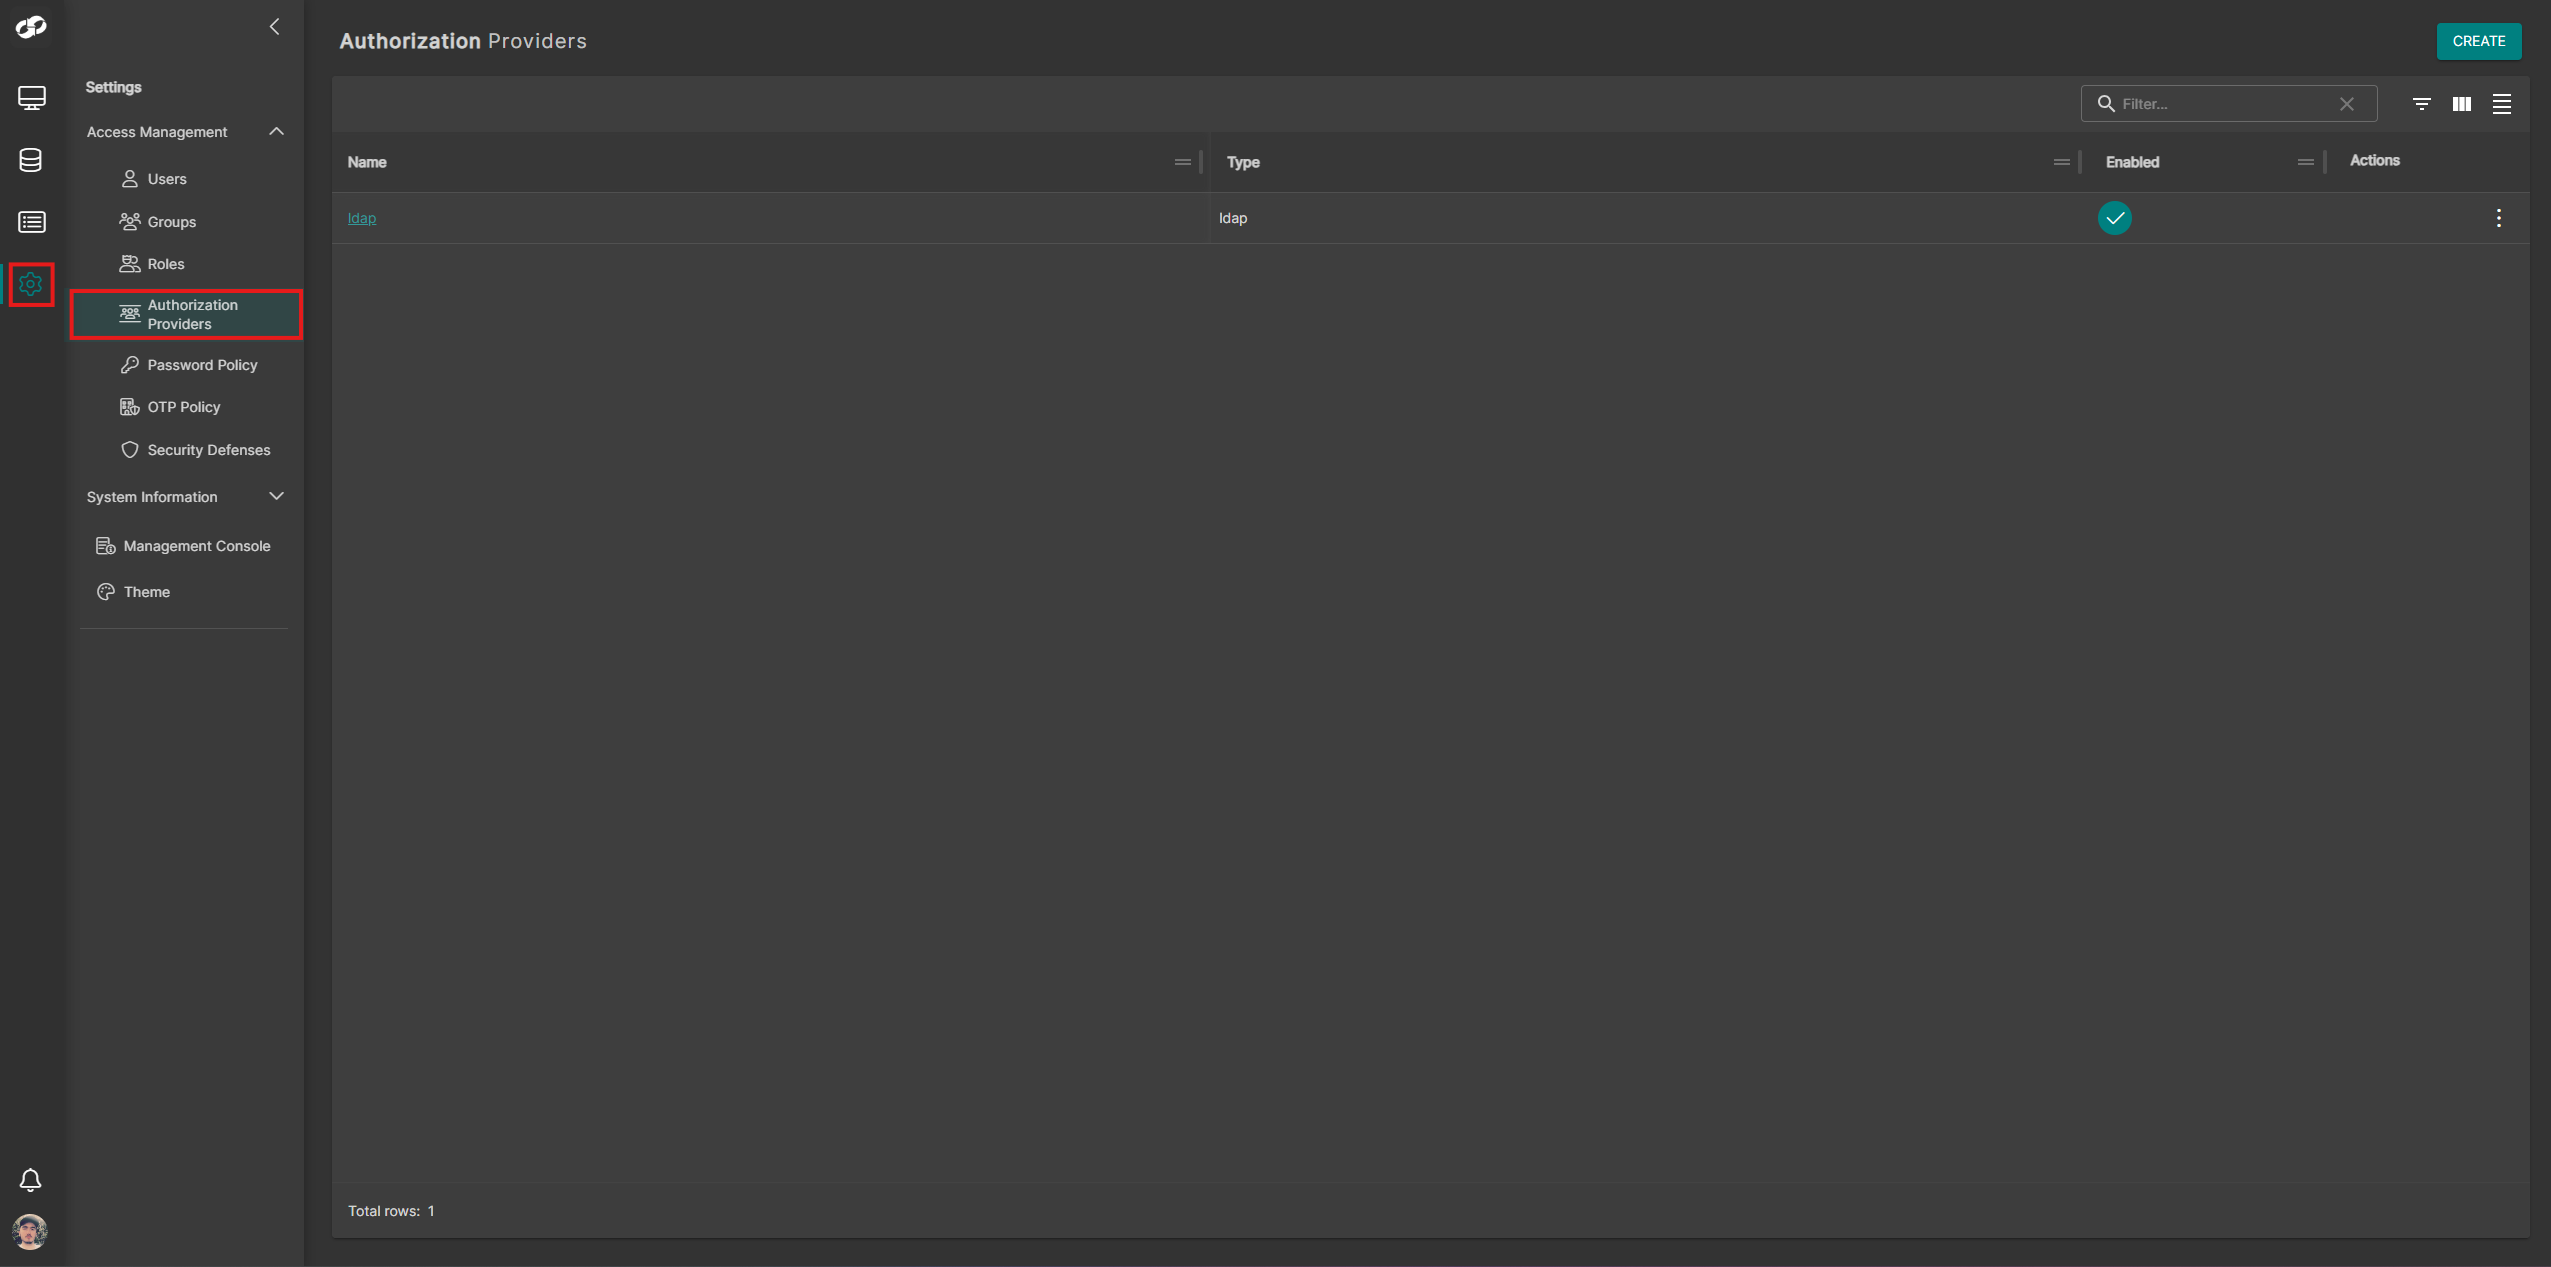
-
Click Create at the top-right and select SAML. You will be presented with the SAML configuration form
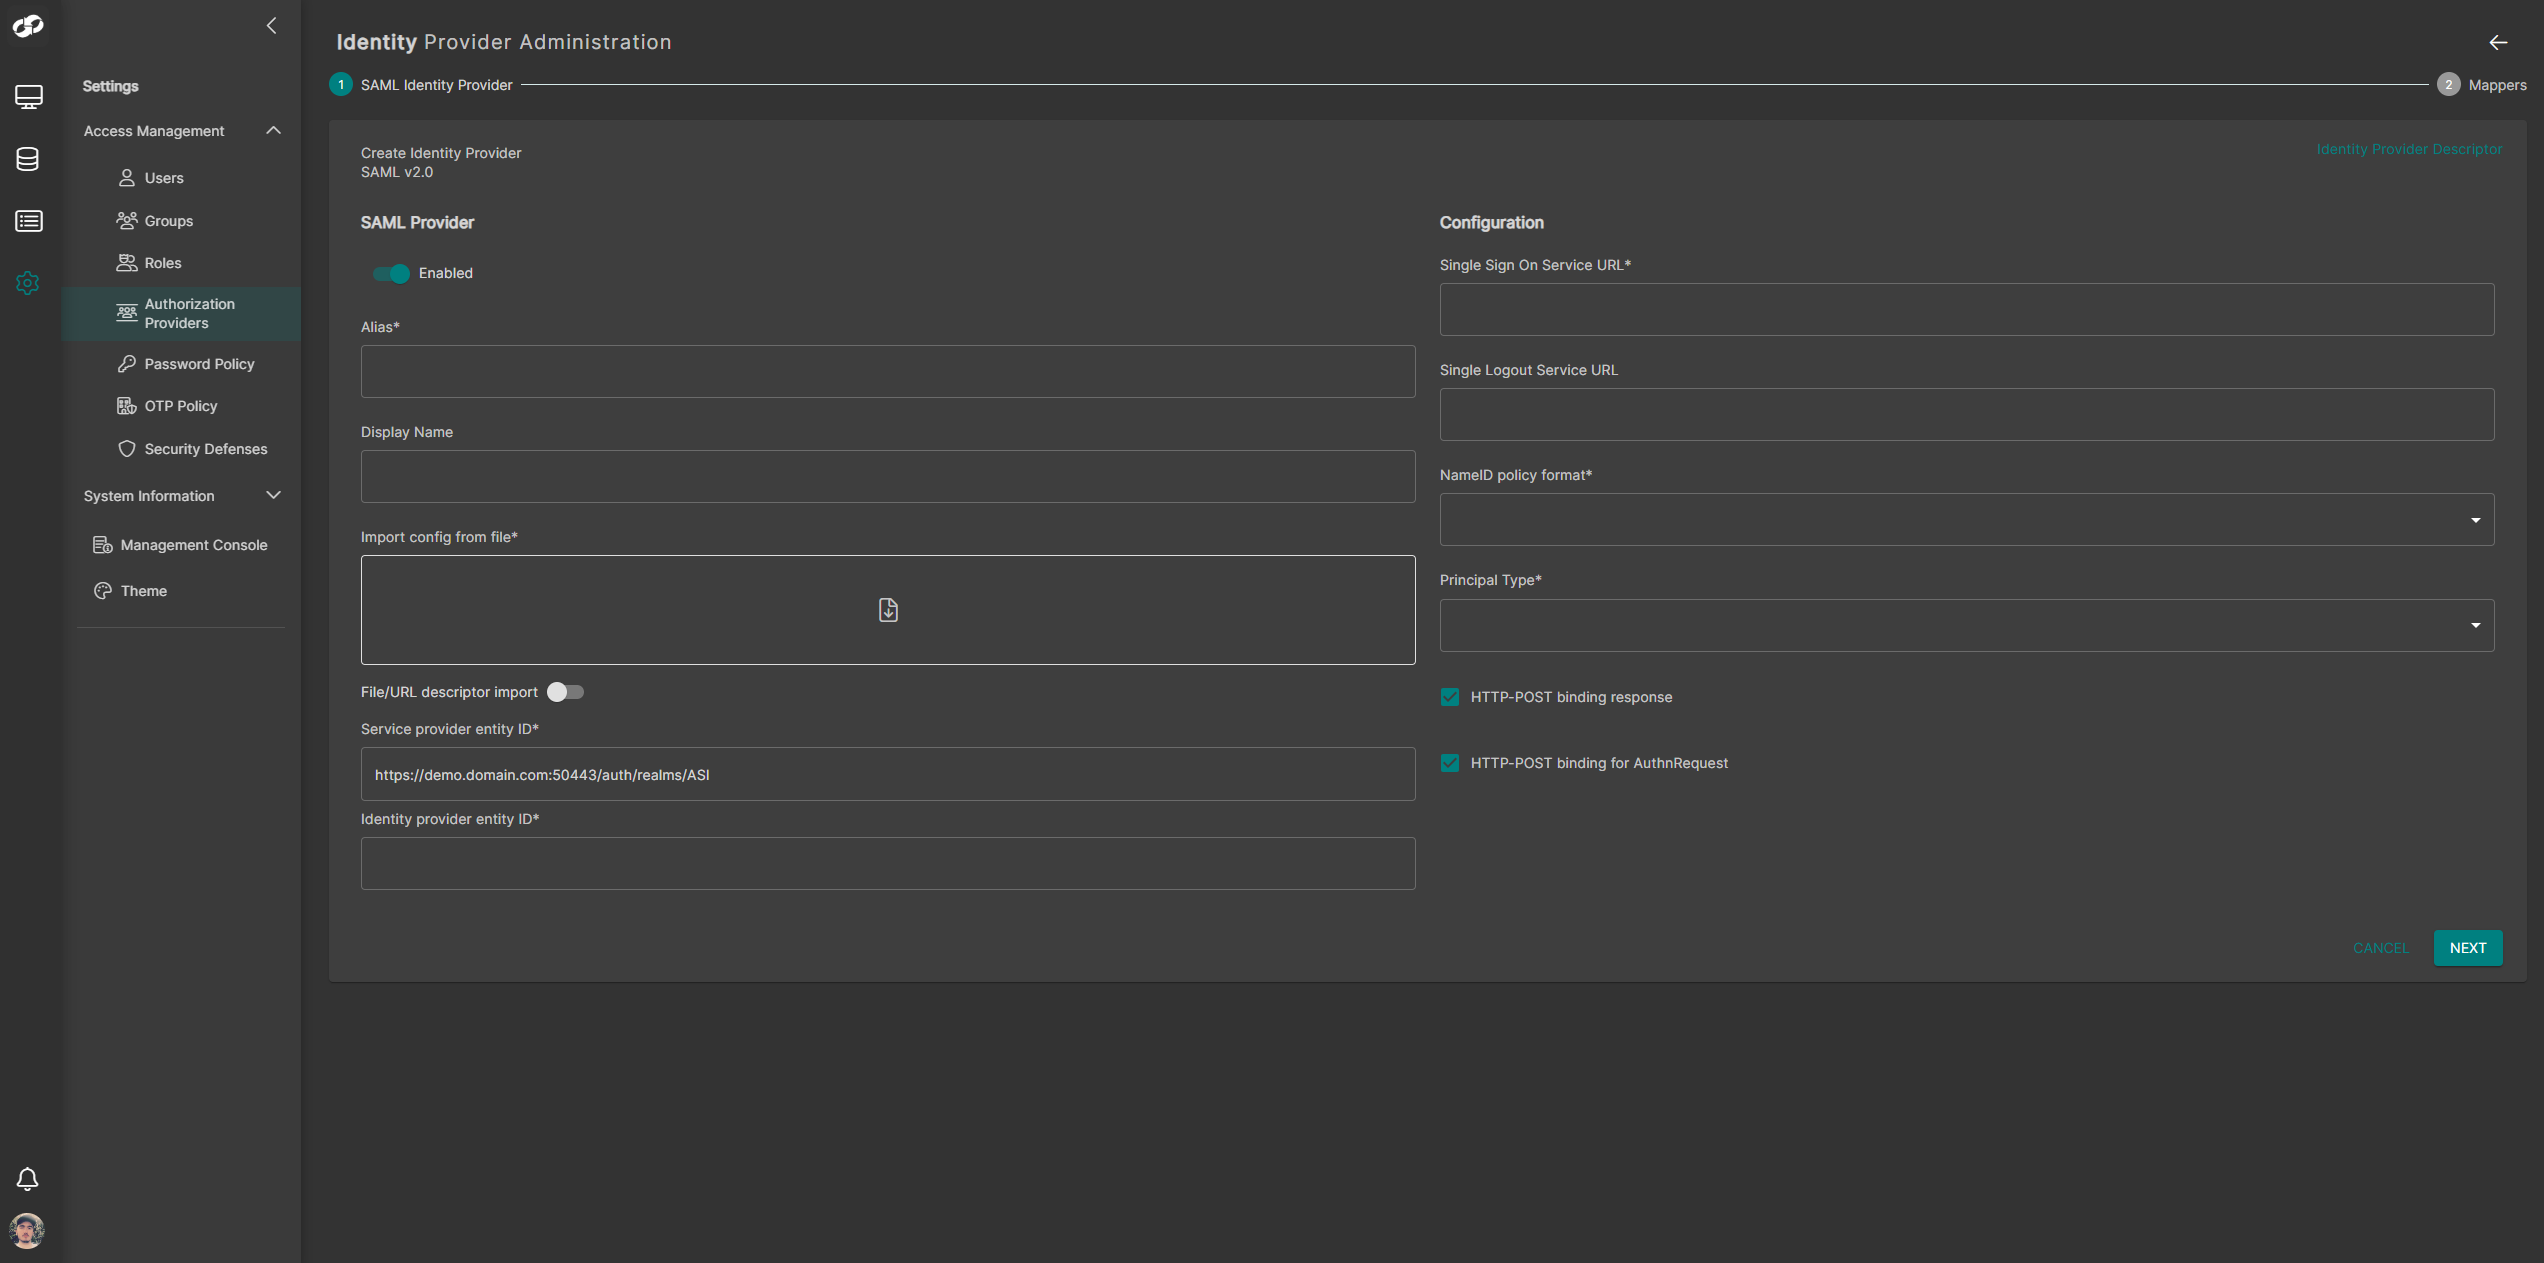
-
In the Alias field, enter the same value you used for
<auth_provider_name>during SSO setup -
(Optional) Provide a friendly name in the Display Name field.
You can now choose to import the IDP discovery descriptor either from a file or by specifying a URL
Import config from file
If you choose to import the descriptor configuration from a file, download the metadata file from your Enterprise Application
-
In ASI 3, ensure File/URL descriptor import is set to false (default)
-
In your Enterprise Application, navigate to Single sign-on
-
On the left, expand Manage, then select Single sign-on
-
Under SAML Certificates, copy the App Federation Metadata Url and save its contents to a file
-
Return to ASI 3 and upload the file. The form will auto-populate upon successful import
-
Set NameID policy format to Persistent
-
Set Principal Type to Subject NameID
-
Enable both:
- HTTP-POST binding response
- HTTP-POST binding for AuthnRequest
URL descriptor import
If you choose to import the descriptor configuration via URL, copy the metadata URL from your Enterprise Application
-
Set File/URL descriptor import to true
-
In your Enterprise Application, go to Single sign-on
-
Under SAML Certificates, copy the App Federation Metadata Url
-
Paste this URL into the Import config from URL field in ASI 3 and click Get Configuration
-
Set NameID policy format to Persistent
-
Set Principal Type to Subject NameID
-
Enable both:
- HTTP-POST binding response
- HTTP-POST binding for AuthnRequest
You’re now ready to configure the attribute mappers for the Authorization Provider
-
On the SAML configuration form, click Next
-
On the Mappers page, click Add Mappers
-
We now need to map the attributes and claims we configured when creating the Enterprise Application to ASI
Attribute Importer
Name Sync Mode Mapper Type SAML Attribute Name SAML Friendly Name Name Format User Attribute Name username First Import Attribute Importer username username Basic username givenname First Import Attribute Importer givenname givenname Basic firstName surname First Import Attribute Importer surname surname Basic lastName emailaddress First Import Attribute Importer emailaddress emailaddress Basic email
Advanced Attribute to Group
Name Sync Mode Mapper Type Key Value Regex Attribute Values Group Name of Group in Microsoft Entra ID First Import Attribute Importer http://schemas
.microsoft.com/ws/2008/06/
identity/claims/groupsentra_group_idfalse Group in ASI that you want to assign the users to
- When you’ve finished configuring the mappers, click Finish
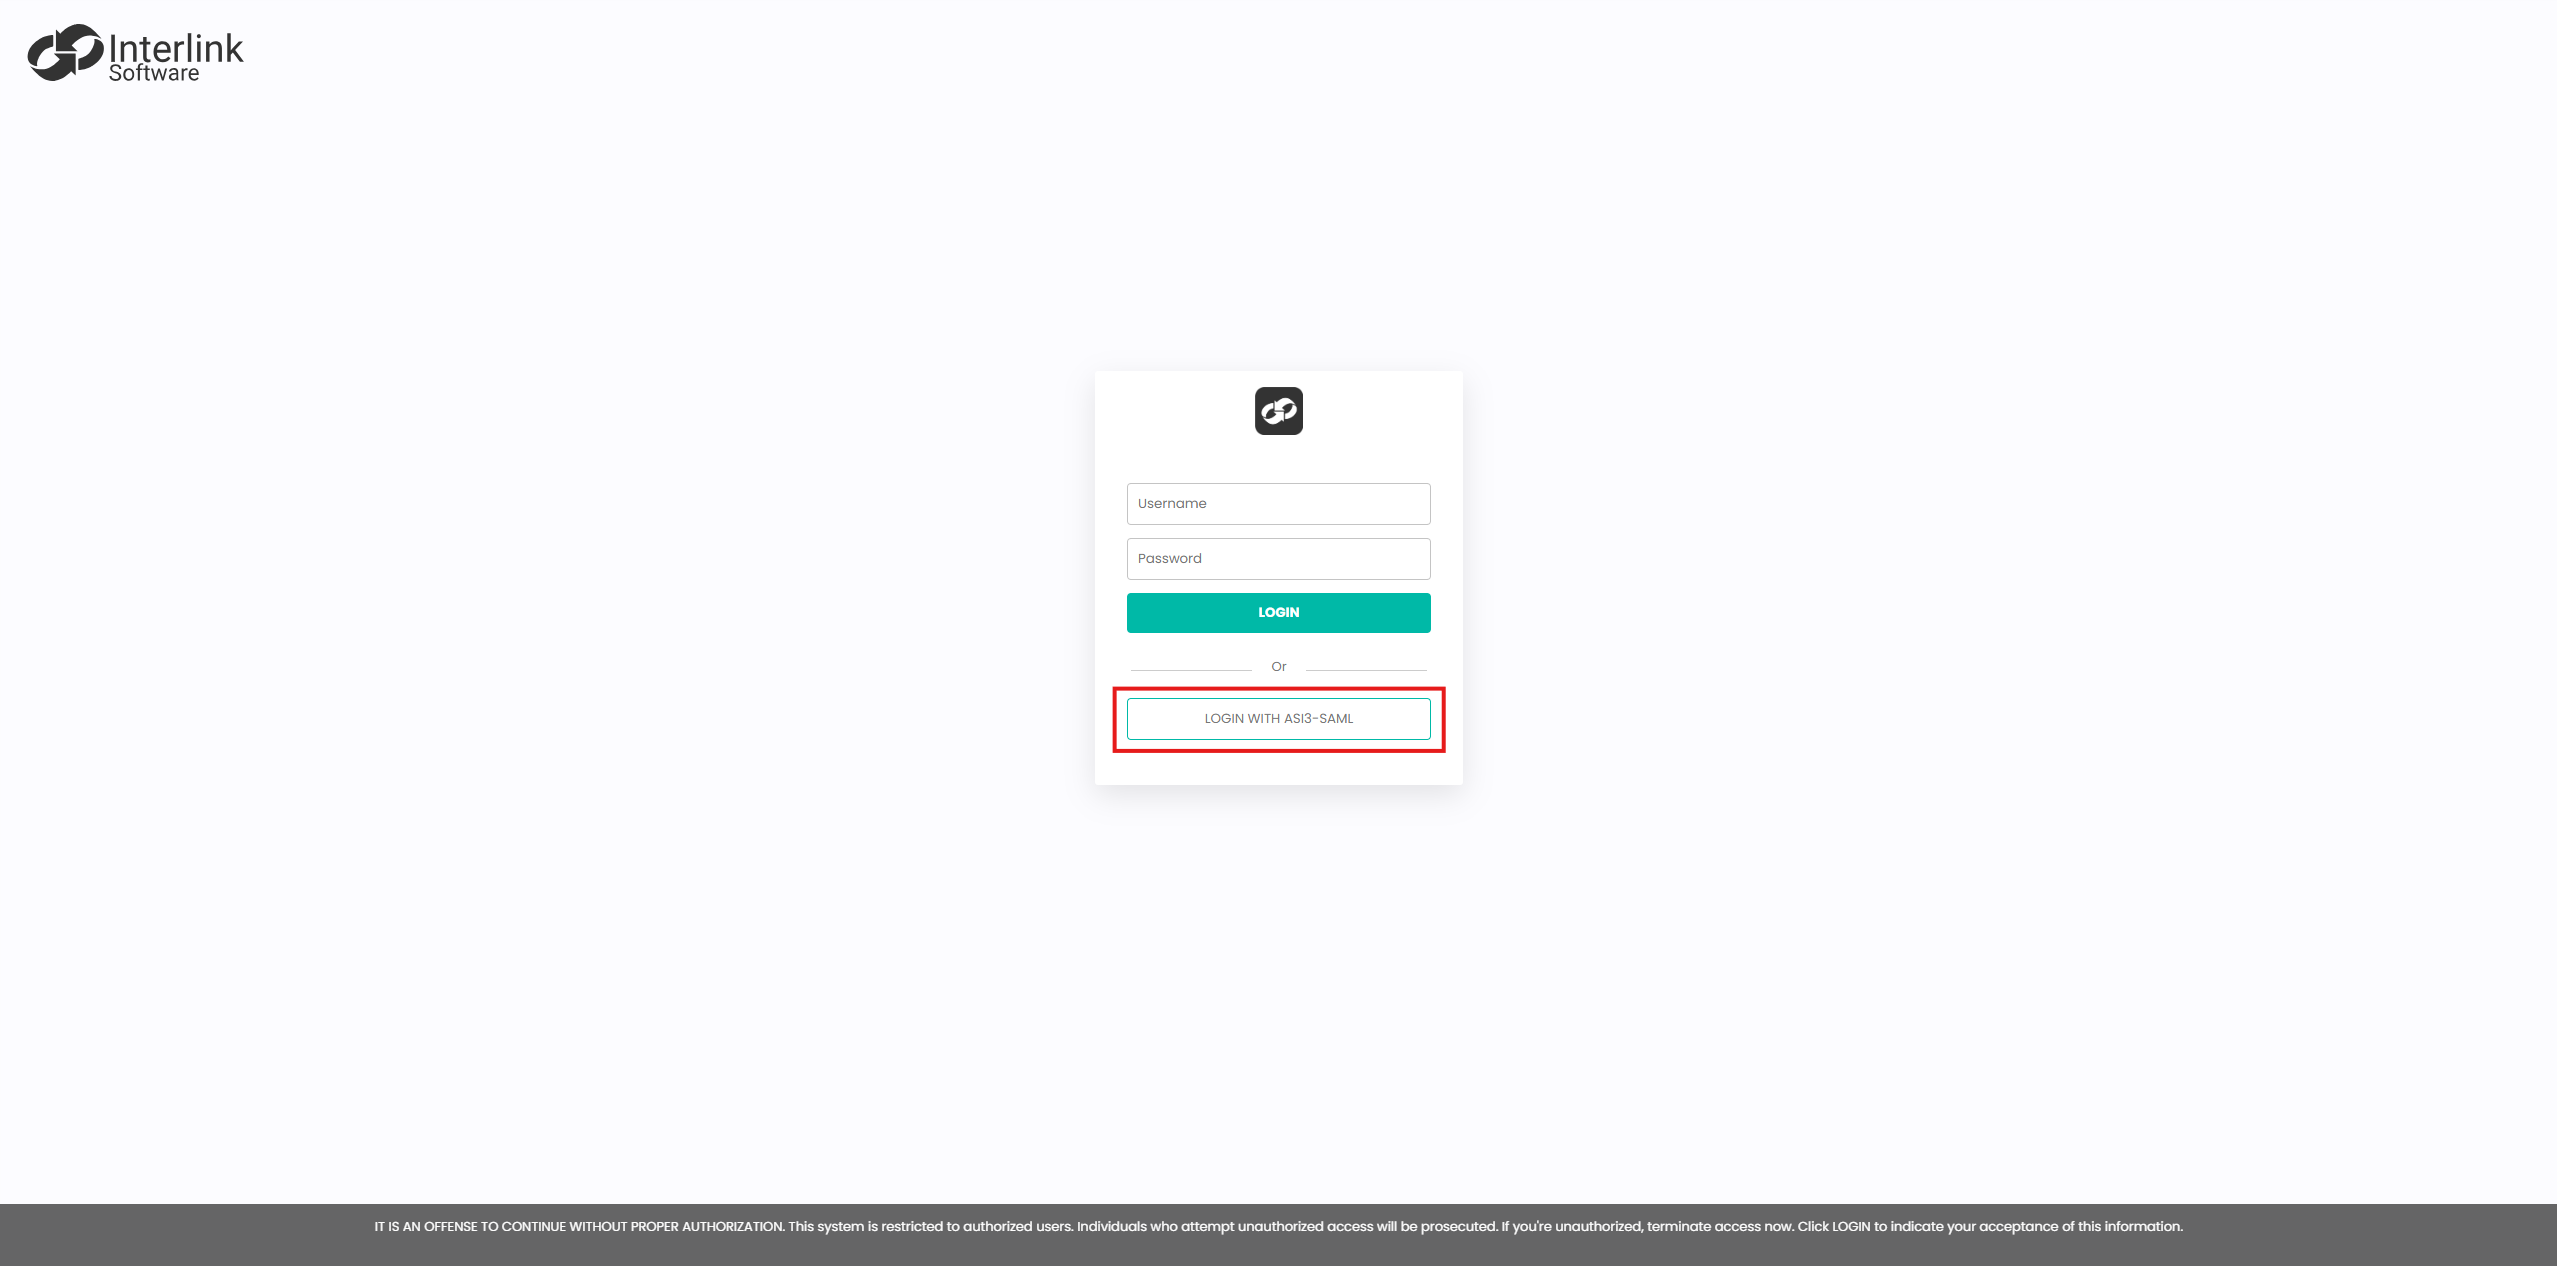
After setup is complete, users will see a new option on the ASI 3 login screen that allows them to sign in using their Microsoft Entra ID credentials
If you experience any issues after configuring the provider, please contact Support